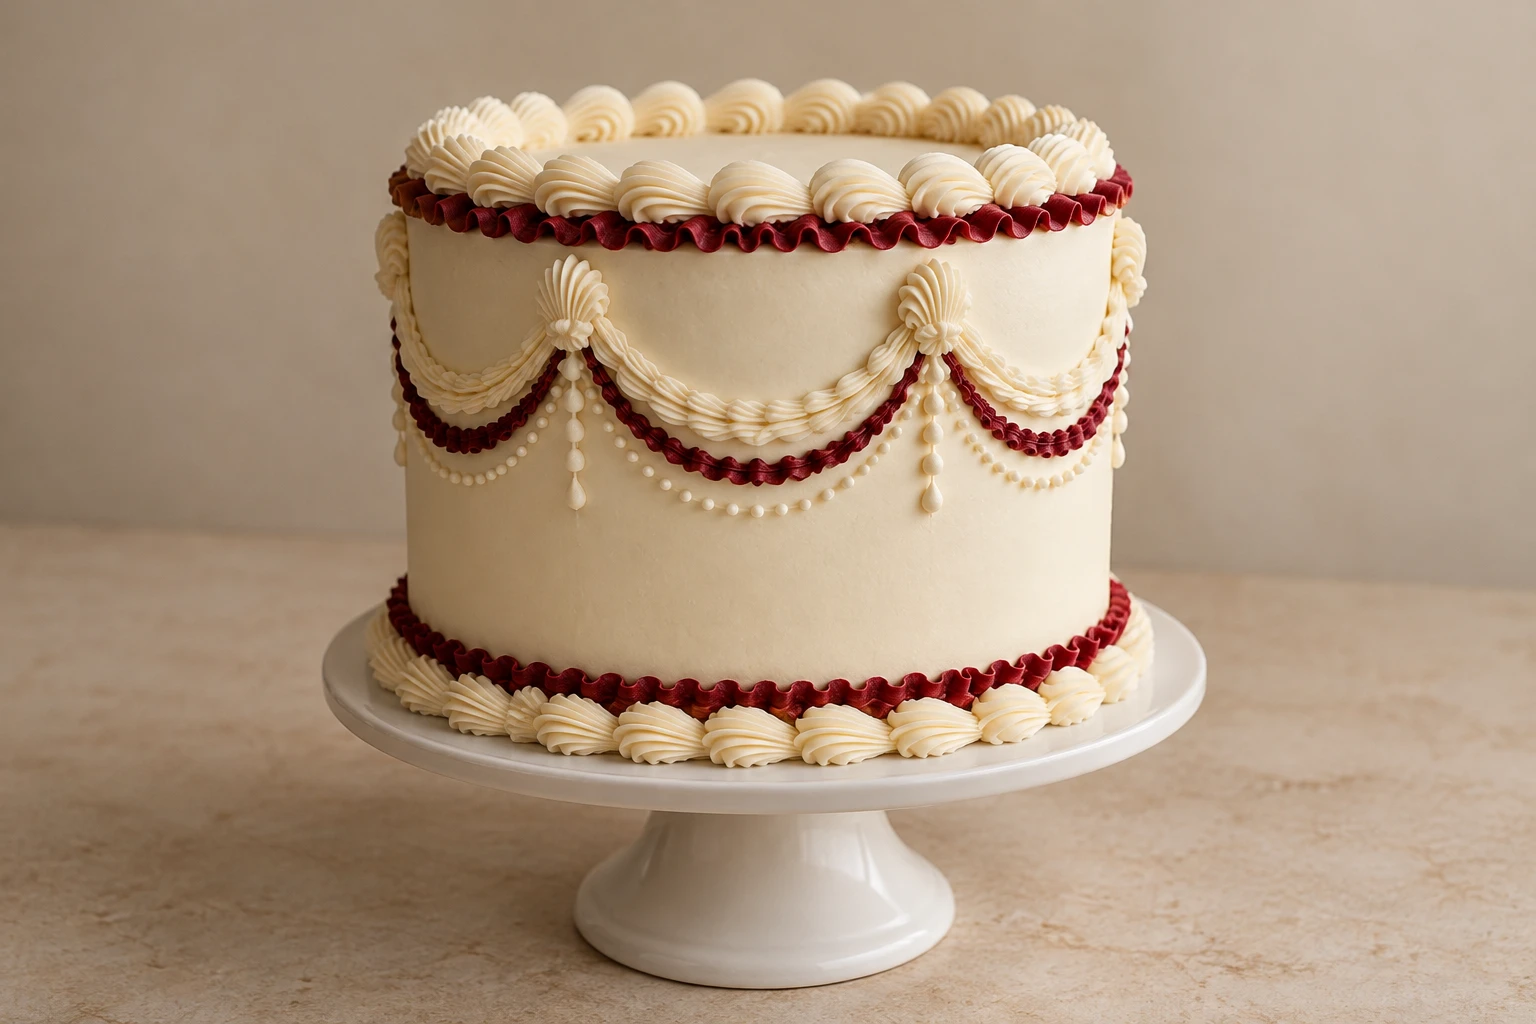
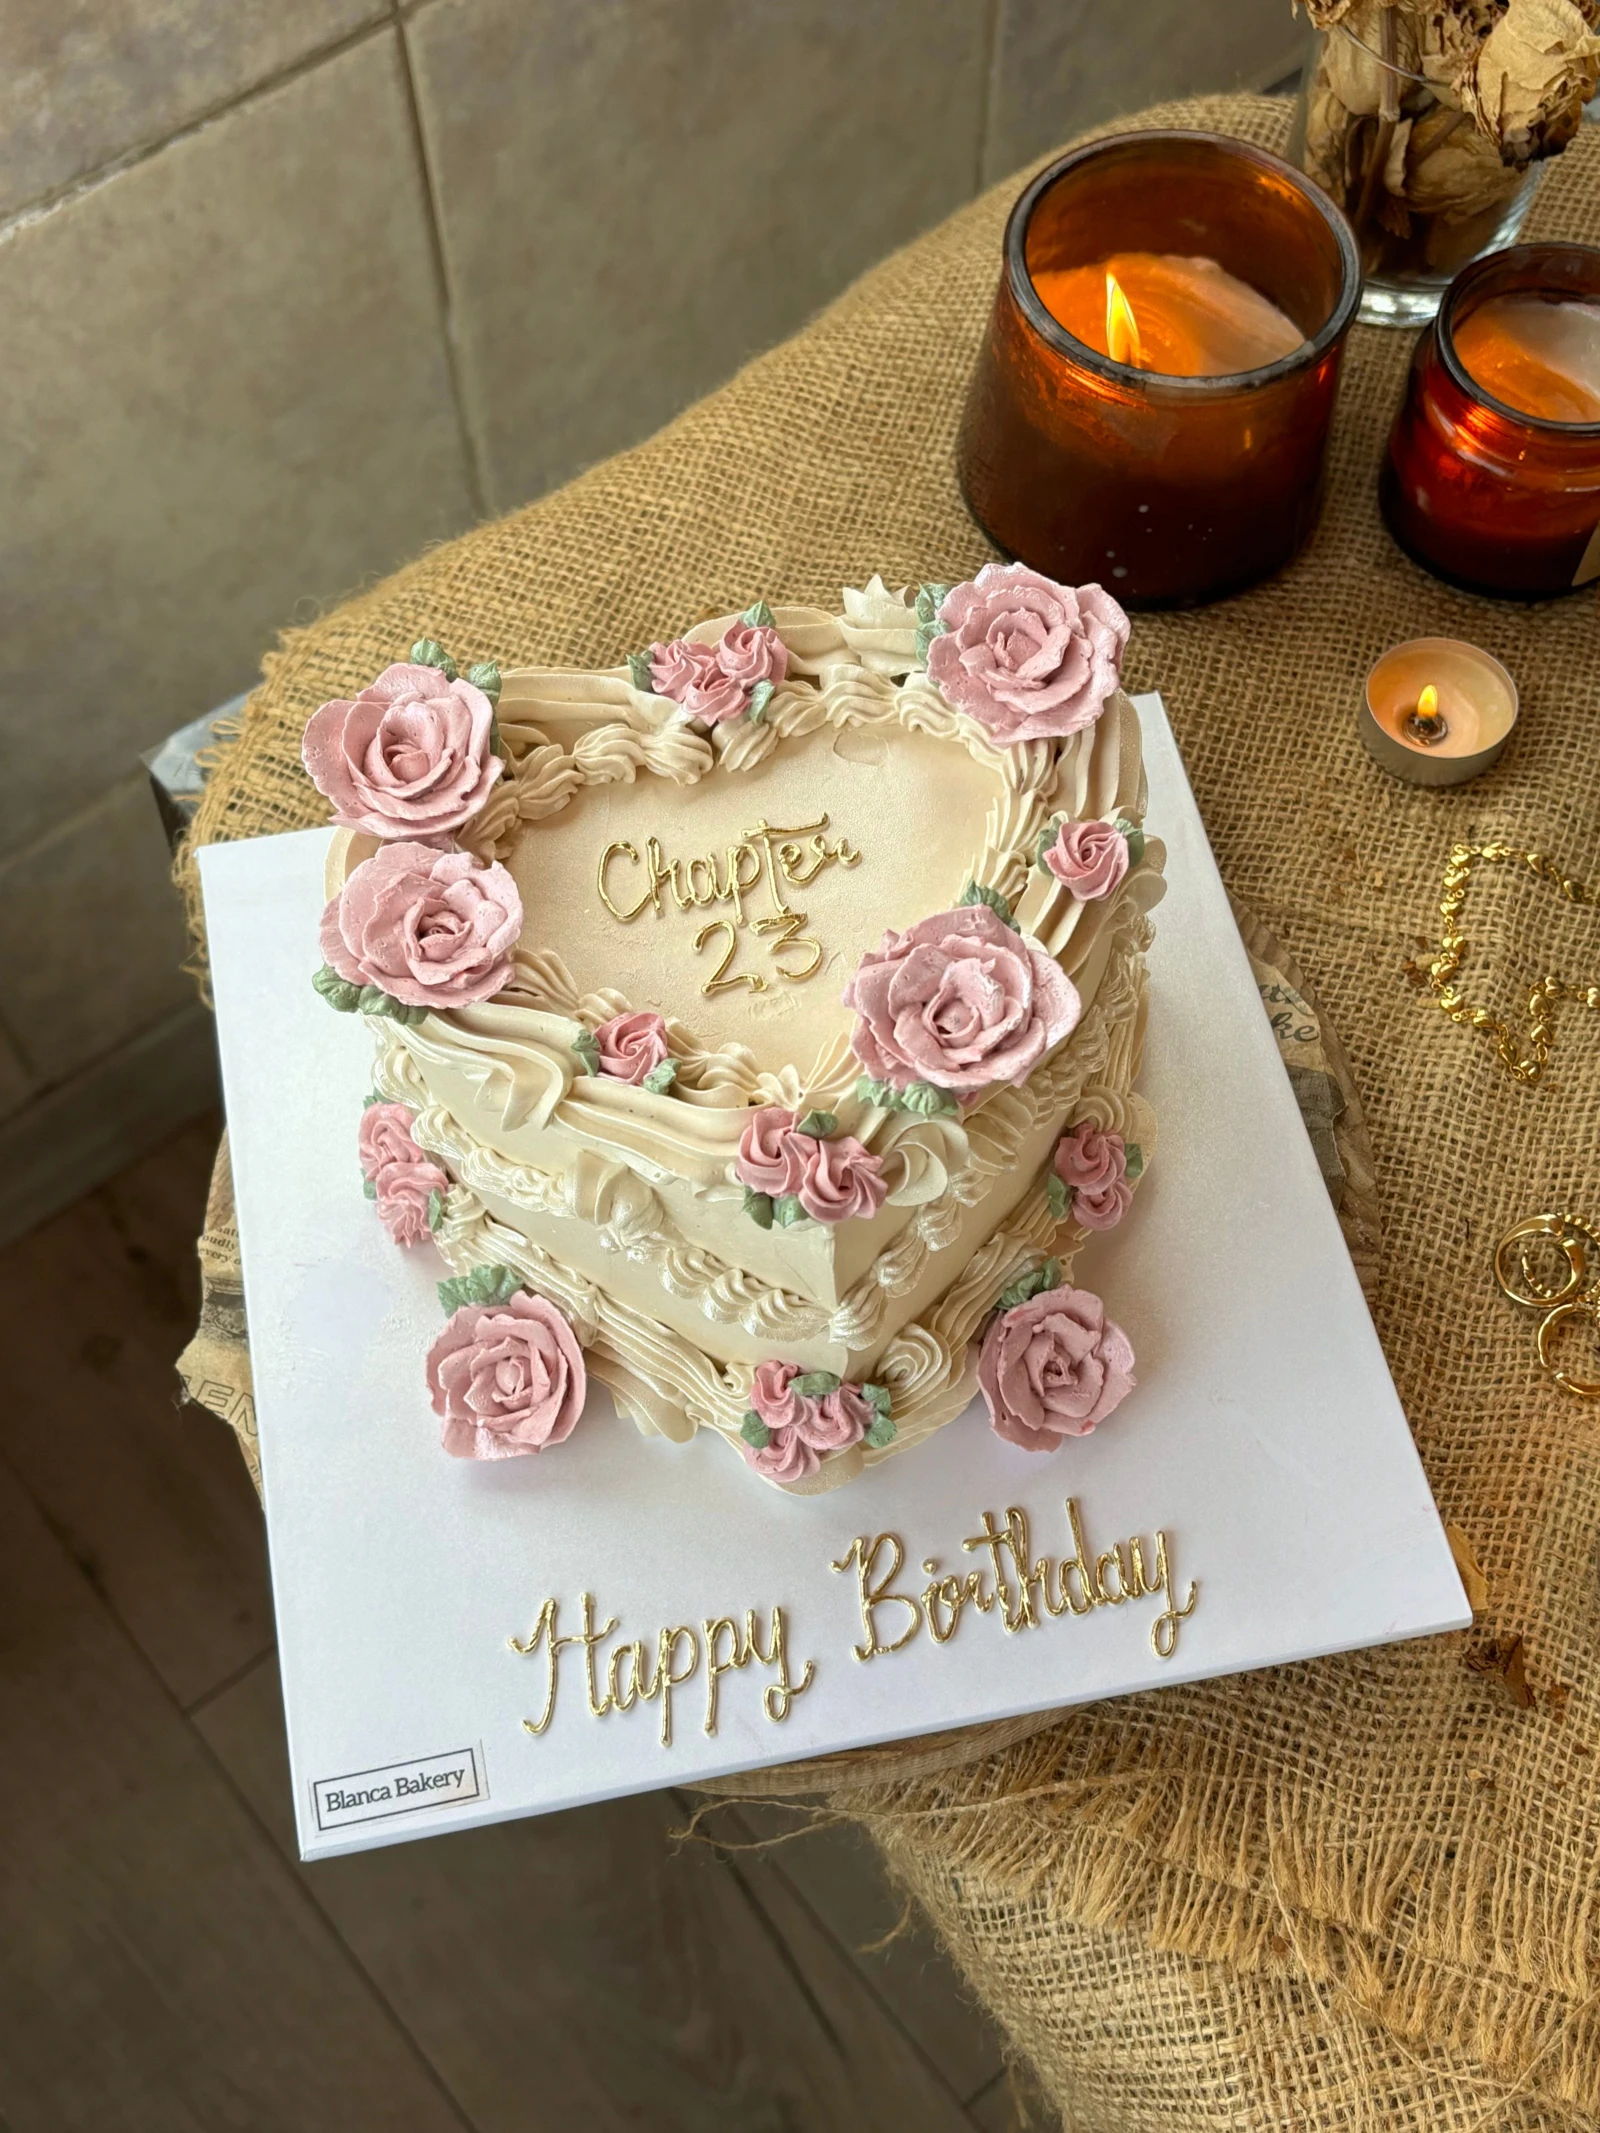
Vintage cakes borrow from over-piped, Lambeth-style decoration: shell borders, hanging swags, ruffles, beads and bows layered into a generous frame. They look intricate, but most designs repeat a handful of simple piping motions.
These guides break each design into a piping order, help you measure even panels around the cake, and explain how to fix wobbly swags before the buttercream sets.
10 guidesGood to know
Three things that help
Mark even panels around the side with a toothpick before piping swags; six or eight panels suit most 6- to 8-inch cakes.
Use slightly stiffer buttercream for shells and borders than for coating, so the ridges hold their shape.
Pipe from the top down: top border, then swags, then the bottom border, so you never lean on finished work.
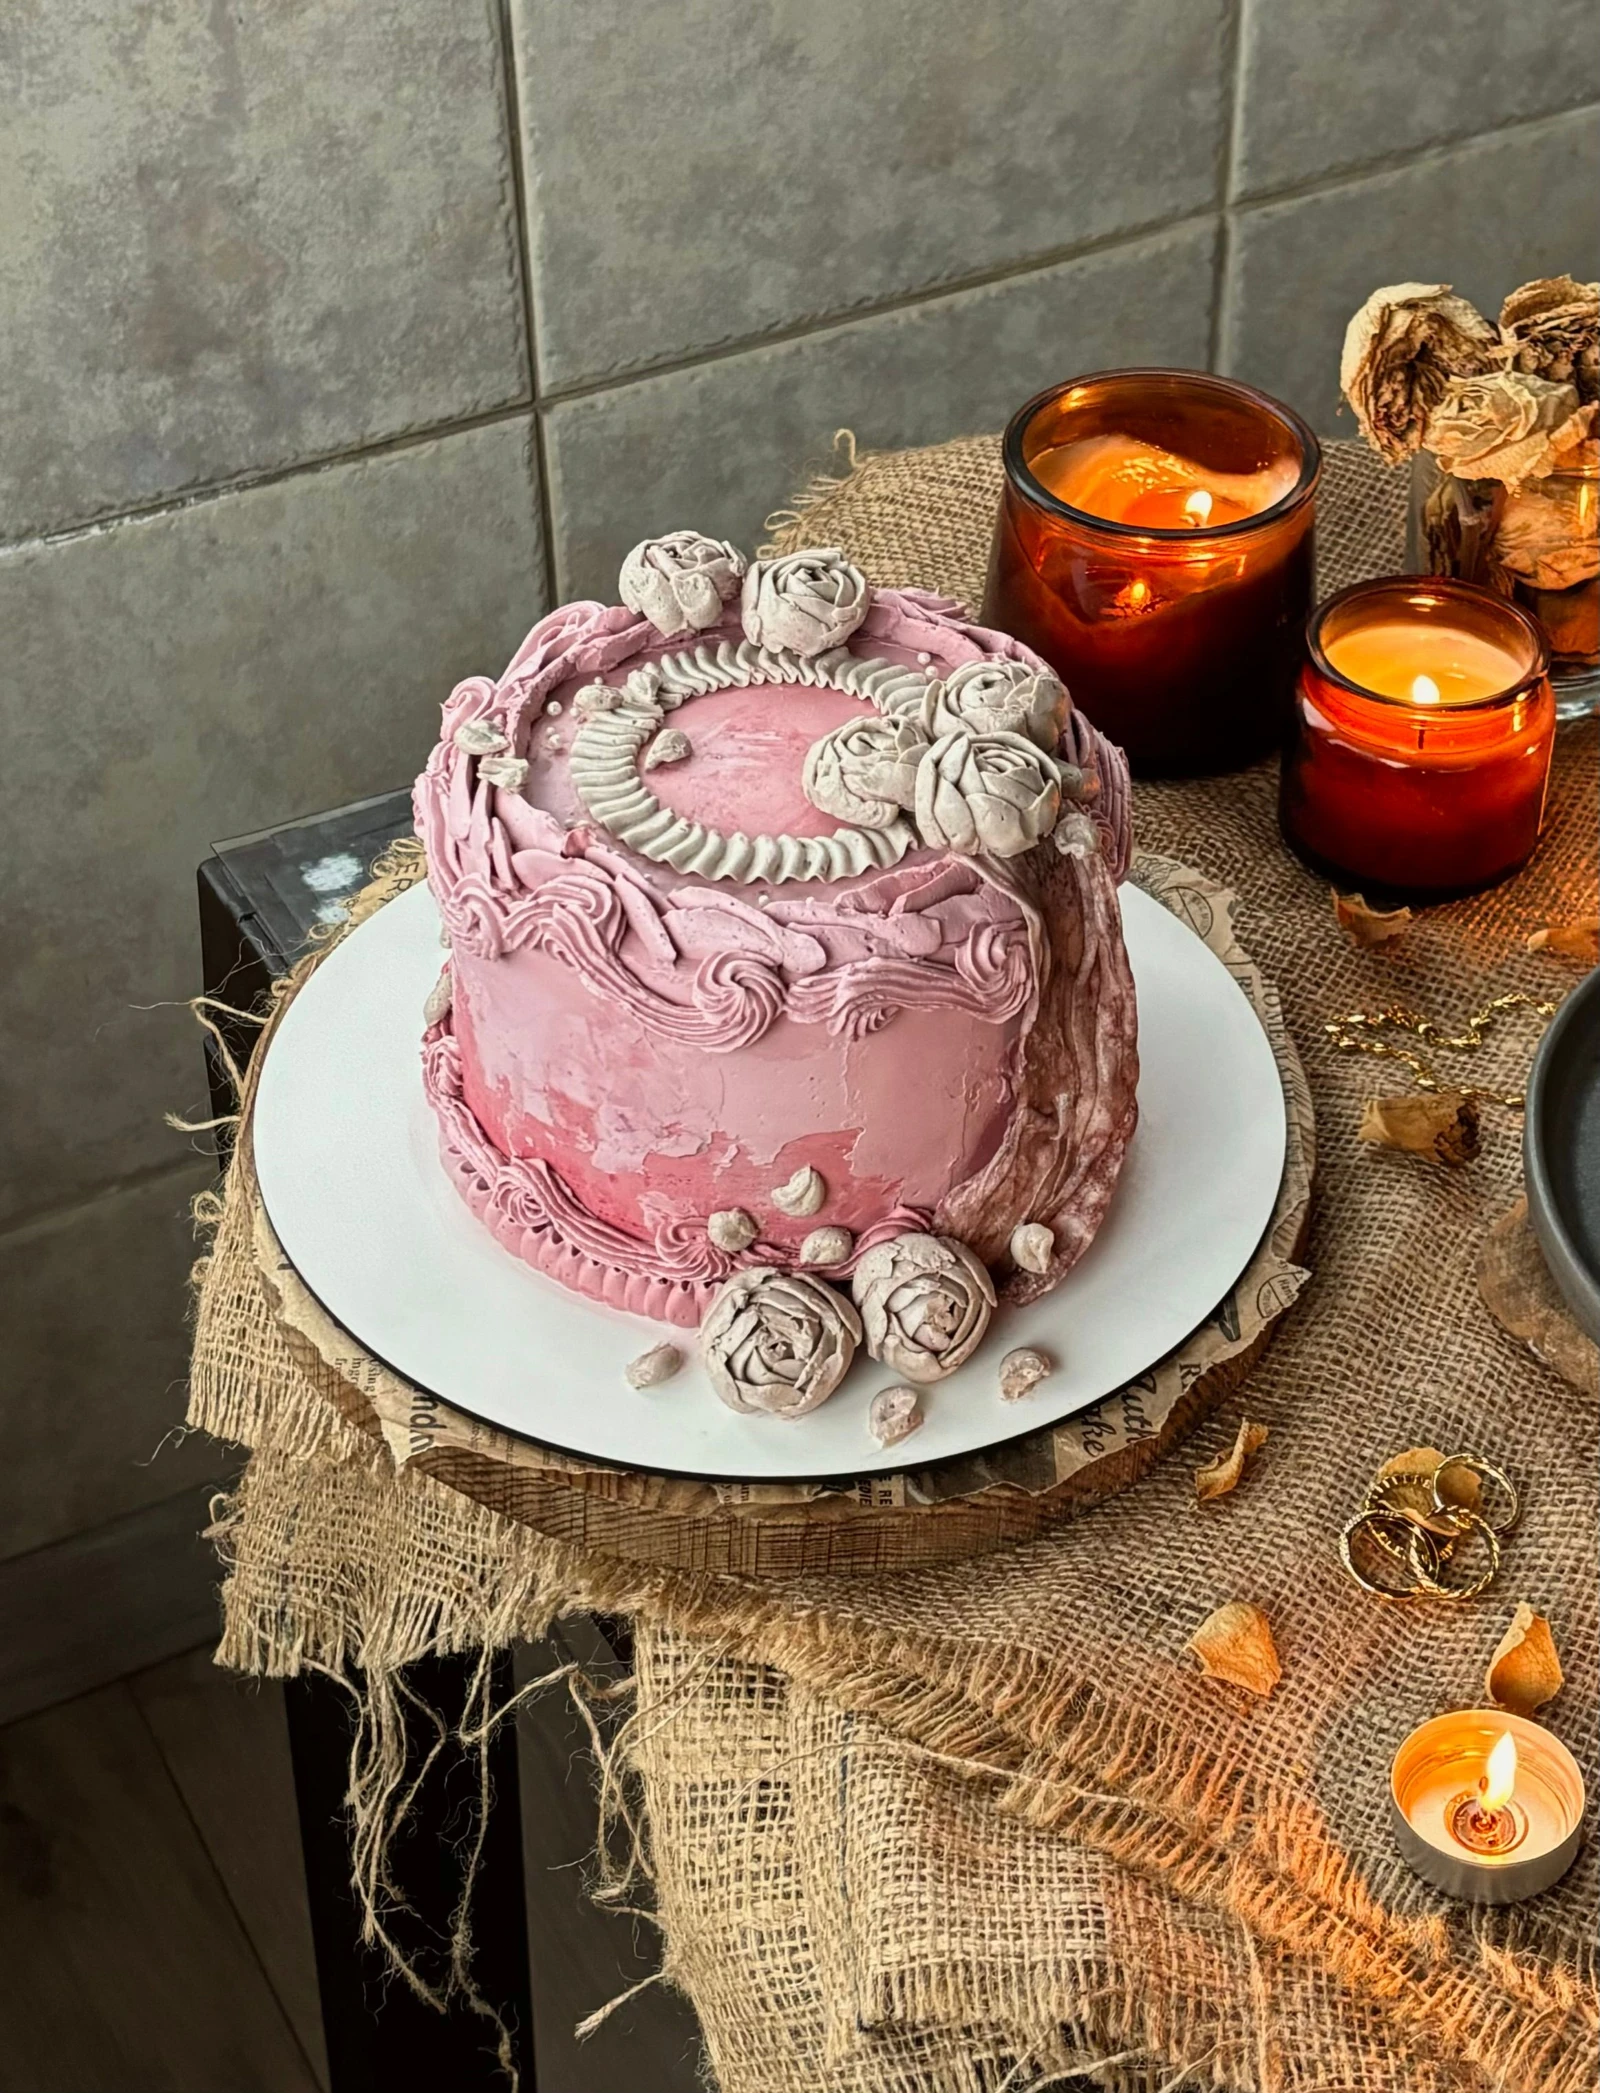
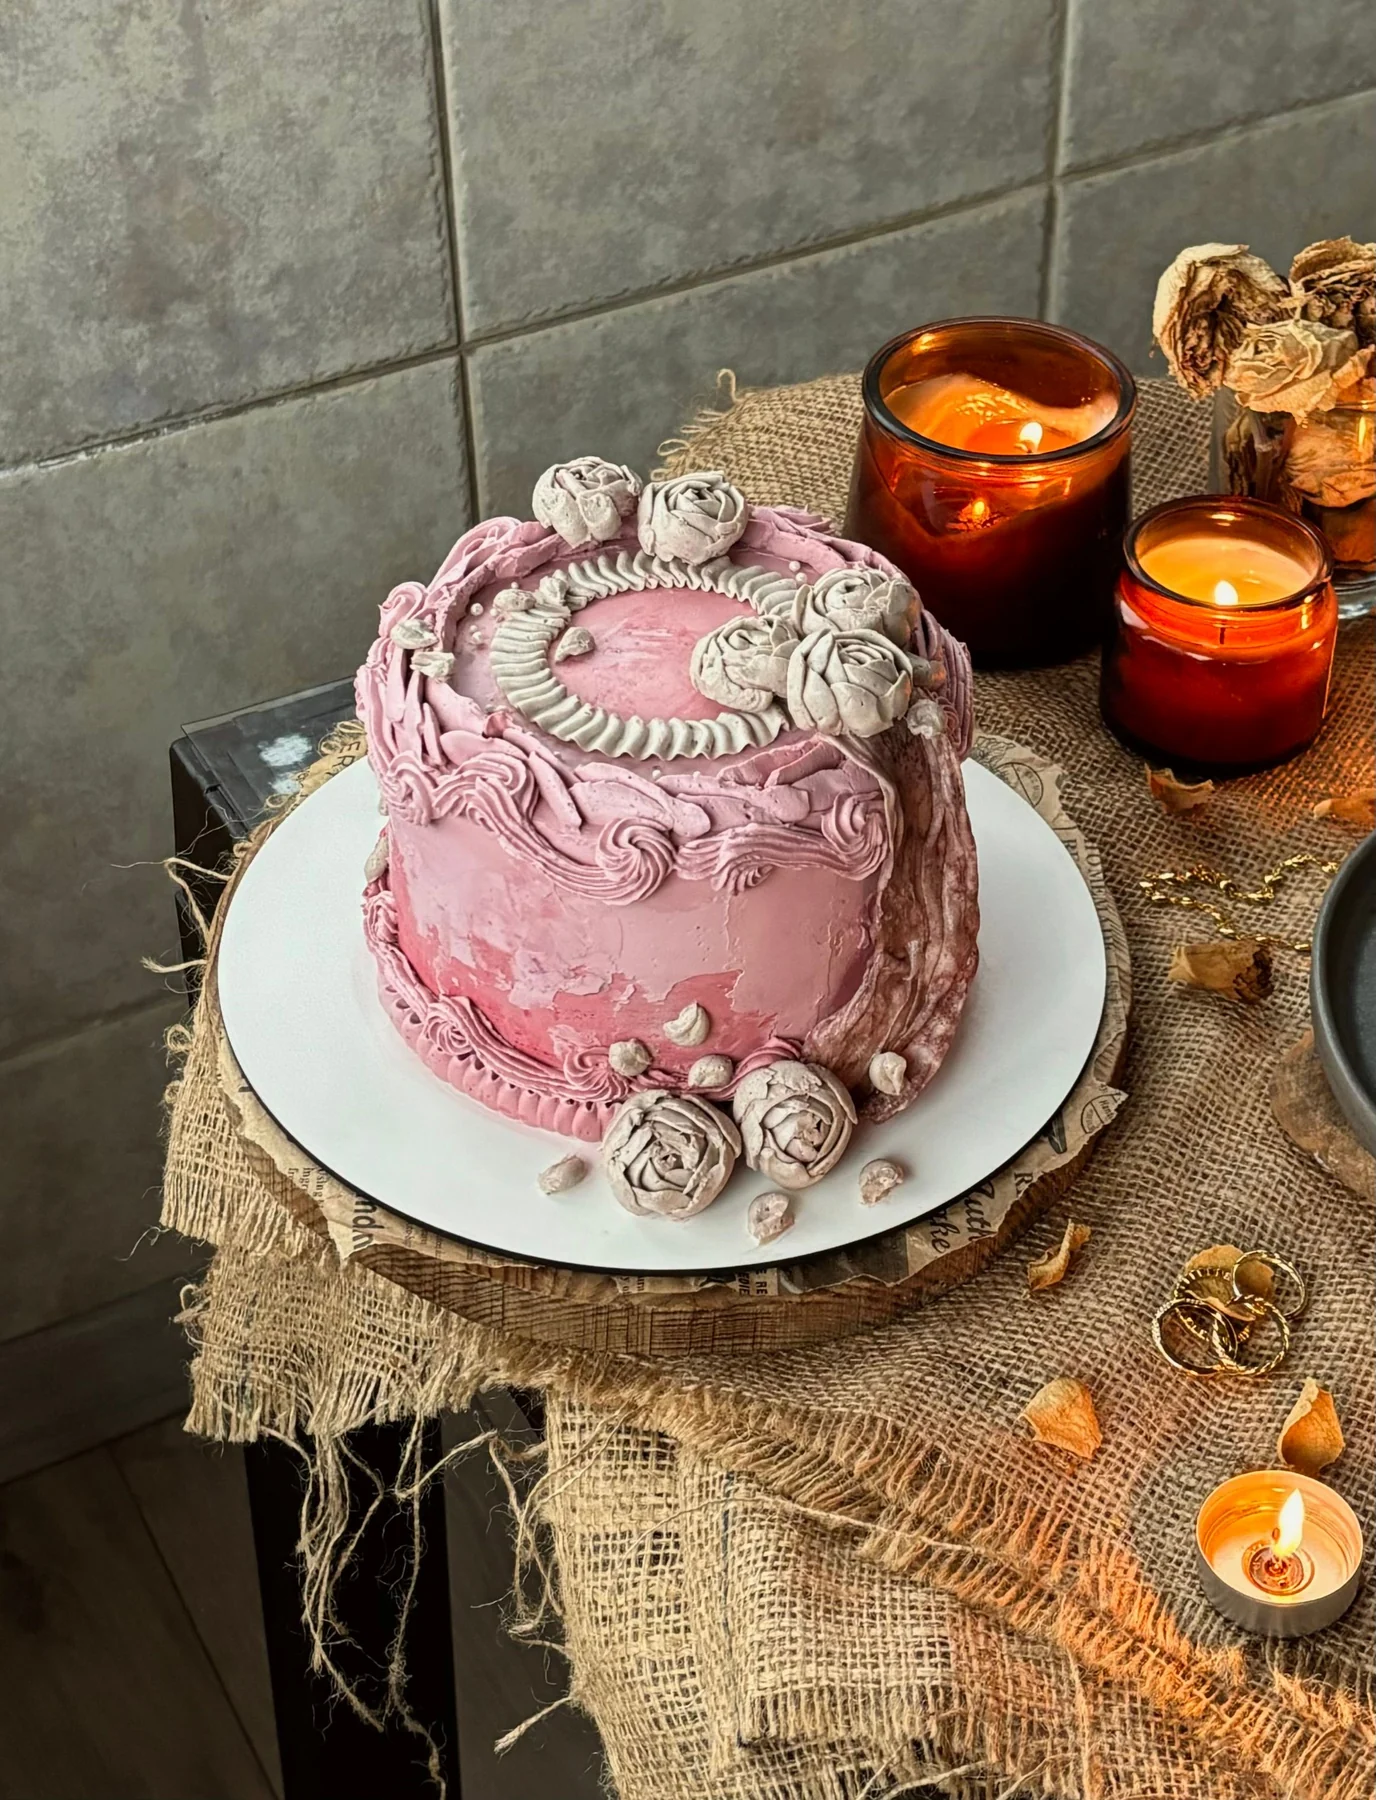
Build a vintage pink cake in a sensible order: smooth base, guide marks, swags, shell borders and rosettes. A short practice strip makes the decorating rhythm easier to control.
Inside: Choose two colors and three motifs · Smooth the coat and mark the spacing · Practice and pipe the swags
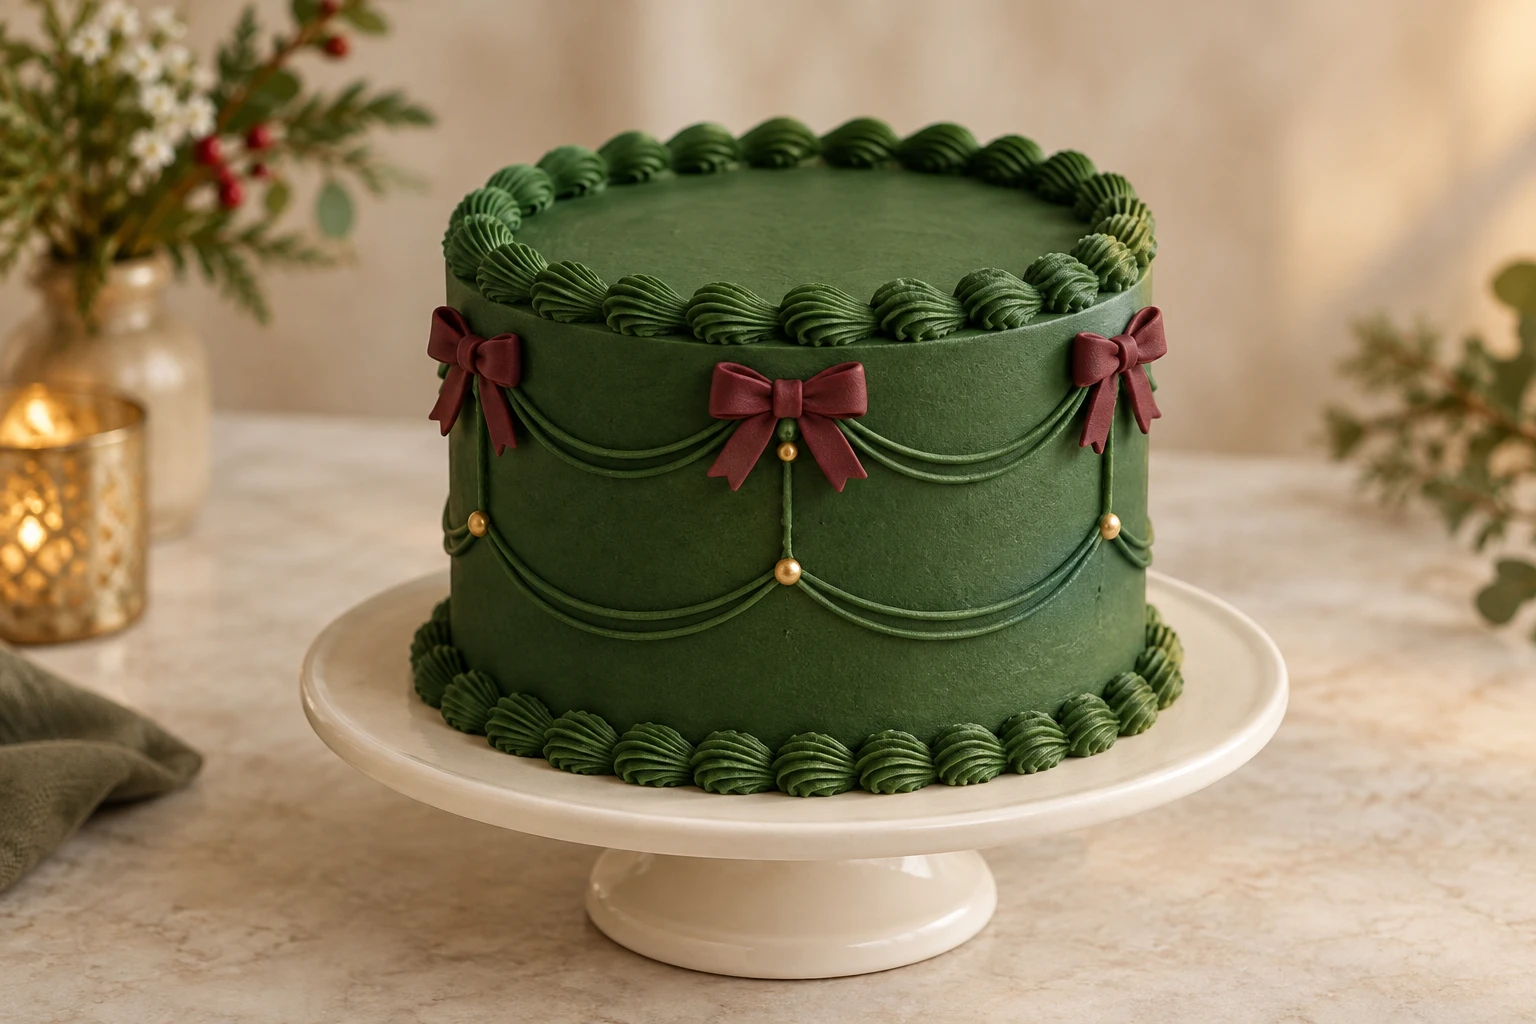
Decorate a forest-green cake with shell borders, two rows of swags, gold sugar pearls and edible burgundy bows. Includes quantities and repairs.
Inside: Use one cylinder and plan two separate swag rows · Allocate the green frosting and edible decorations · Make lightweight burgundy bows in advance
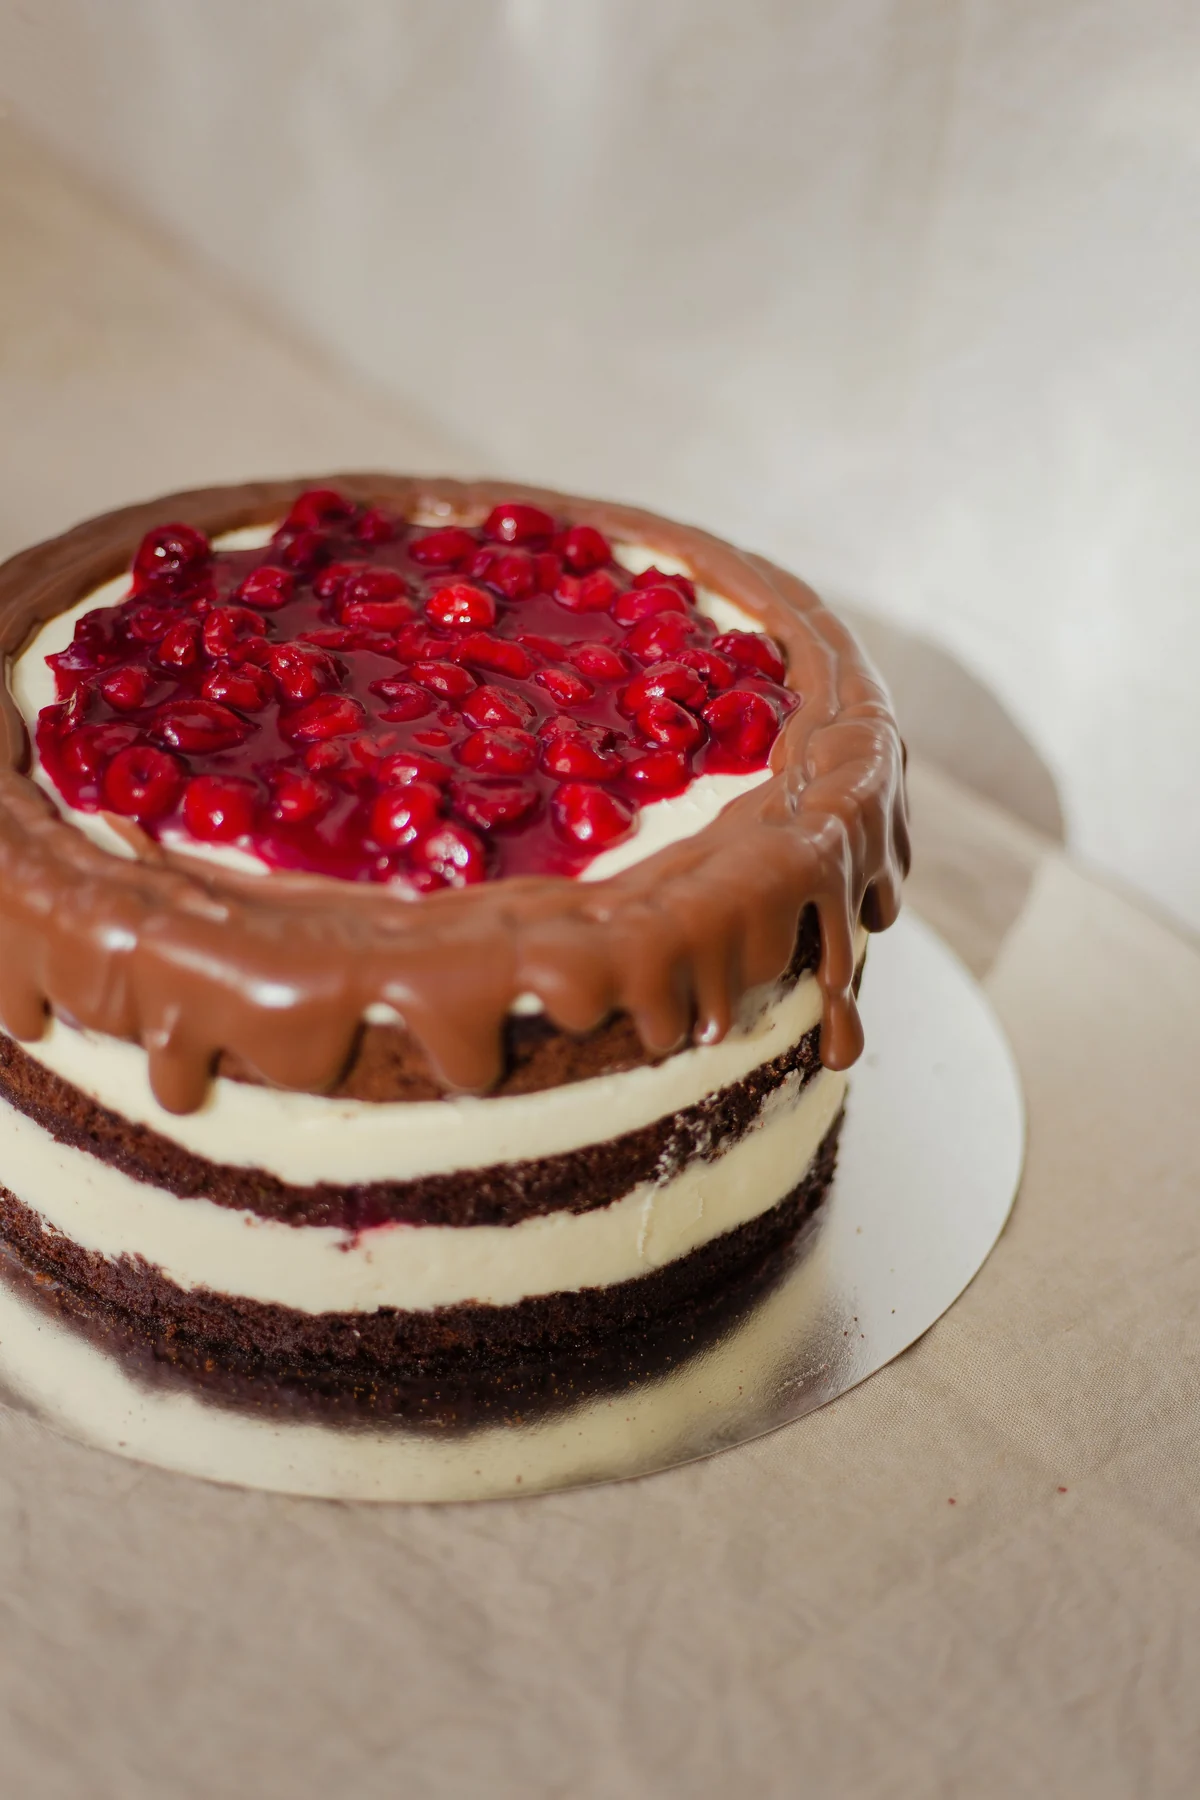
Make a chocolate cherry cake with cocoa layers, cherry filling, chocolate buttercream and vintage piping. Includes a decorating sequence and make-ahead tips.
Inside: Build flavor without a slippery filling · Pipe the vintage borders in the right order · Finish with cherries and edible bows