 0 comments
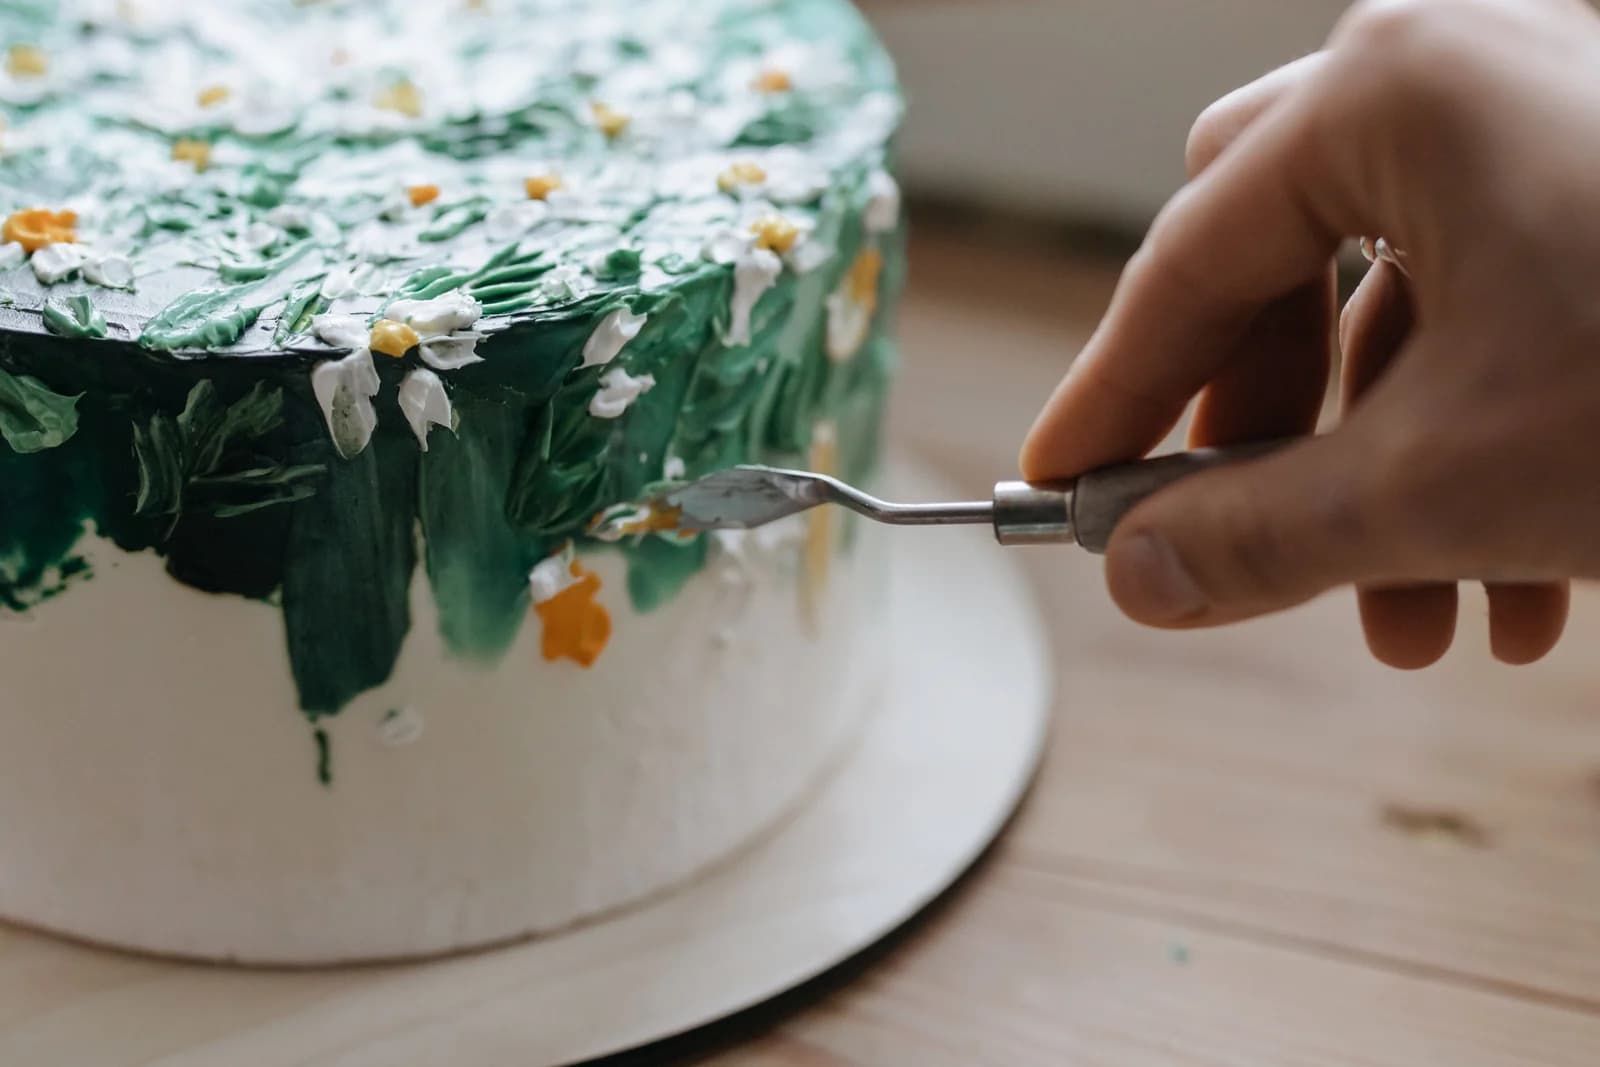
Paint a small mountain scene in buttercream using distant peaks, a green foreground and a restrained tree line. This Kumora guide interprets the reference image; it does not claim to reproduce the original creator’s recipe or methods.
Before you start
- Chilled cake with a pale smooth top
- Muted blue-gray, green and ivory buttercream
- Two small palette knives
- Fine round or small leaf tip
- Paper sketch of the landscape
Sketch three bands of depth
Divide the scene into sky, distant mountains and foreground. Keep the horizon away from the exact middle for a more natural composition. Draw the silhouette on paper at cake size and leave a clear area for the message.
Choose a small palette: a pale sky, two related mountain shades, one deeper shadow and two greens. Mix enough of each before beginning. Many unrelated colors will make a small landscape busy rather than more realistic.
Start with the farthest peaks
Work on a firm base so the knife can place color without lifting the coat. Spread the lightest distant mountain shape first. Let its edge remain uneven, then overlap a darker ridge in front. Keep each layer thin enough that the scene does not become a heavy mound.
Use the side of the palette knife to create angular faces and a few ivory snow highlights. Put highlights on a consistent side of the peaks so the lighting looks deliberate. You do not need a white cap on every mountain.
Bring the foreground forward
Add a green slope across the lower part of the scene, overlapping the mountain bases. A slightly stronger color and thicker texture make it feel closer. Use short upward strokes or small piped marks for trees along selected parts of the edge.
Vary tree height and spacing. A dense identical row can look like a fence. Leave gaps that reveal the landscape behind, and use the smallest trees nearest the distant ridge. Clean the knife between colors to avoid accidental muddy streaks.
Stop before the scene loses its shape
Step back and view the cake at the size someone will see across a table. If the mountains already read clearly, resist adding more detail. Put a short greeting in the reserved sky area or on the board.
Photograph from above with gentle side light to show the texture. Keep the box lid clear of raised peaks and follow the storage guidance for the cake and frosting you used. This is a palette-knife decorating plan, not a baking formula.
The little details
- Repeat one blue-gray shade in more than one ridge to connect the scene.
- Use a clean knife for snow highlights so they stay crisp.
Your questions, answered
Do I need painting experience?
No. A few overlapping silhouettes can suggest a landscape. Practice the three main shapes on parchment before adding trees and highlights.
Why does everything look flat?
The values may be too similar. Use lighter, thinner distant mountains and a slightly darker, more textured foreground.
Made it? Let’s talk.
Share how your bake went, ask a question, or pass on a helpful tip. There’s a seat for you here.
A kind kitchen is a happy kitchen. Our community guidelines →
No comments yet. Be the first to say hello.