 0 comments
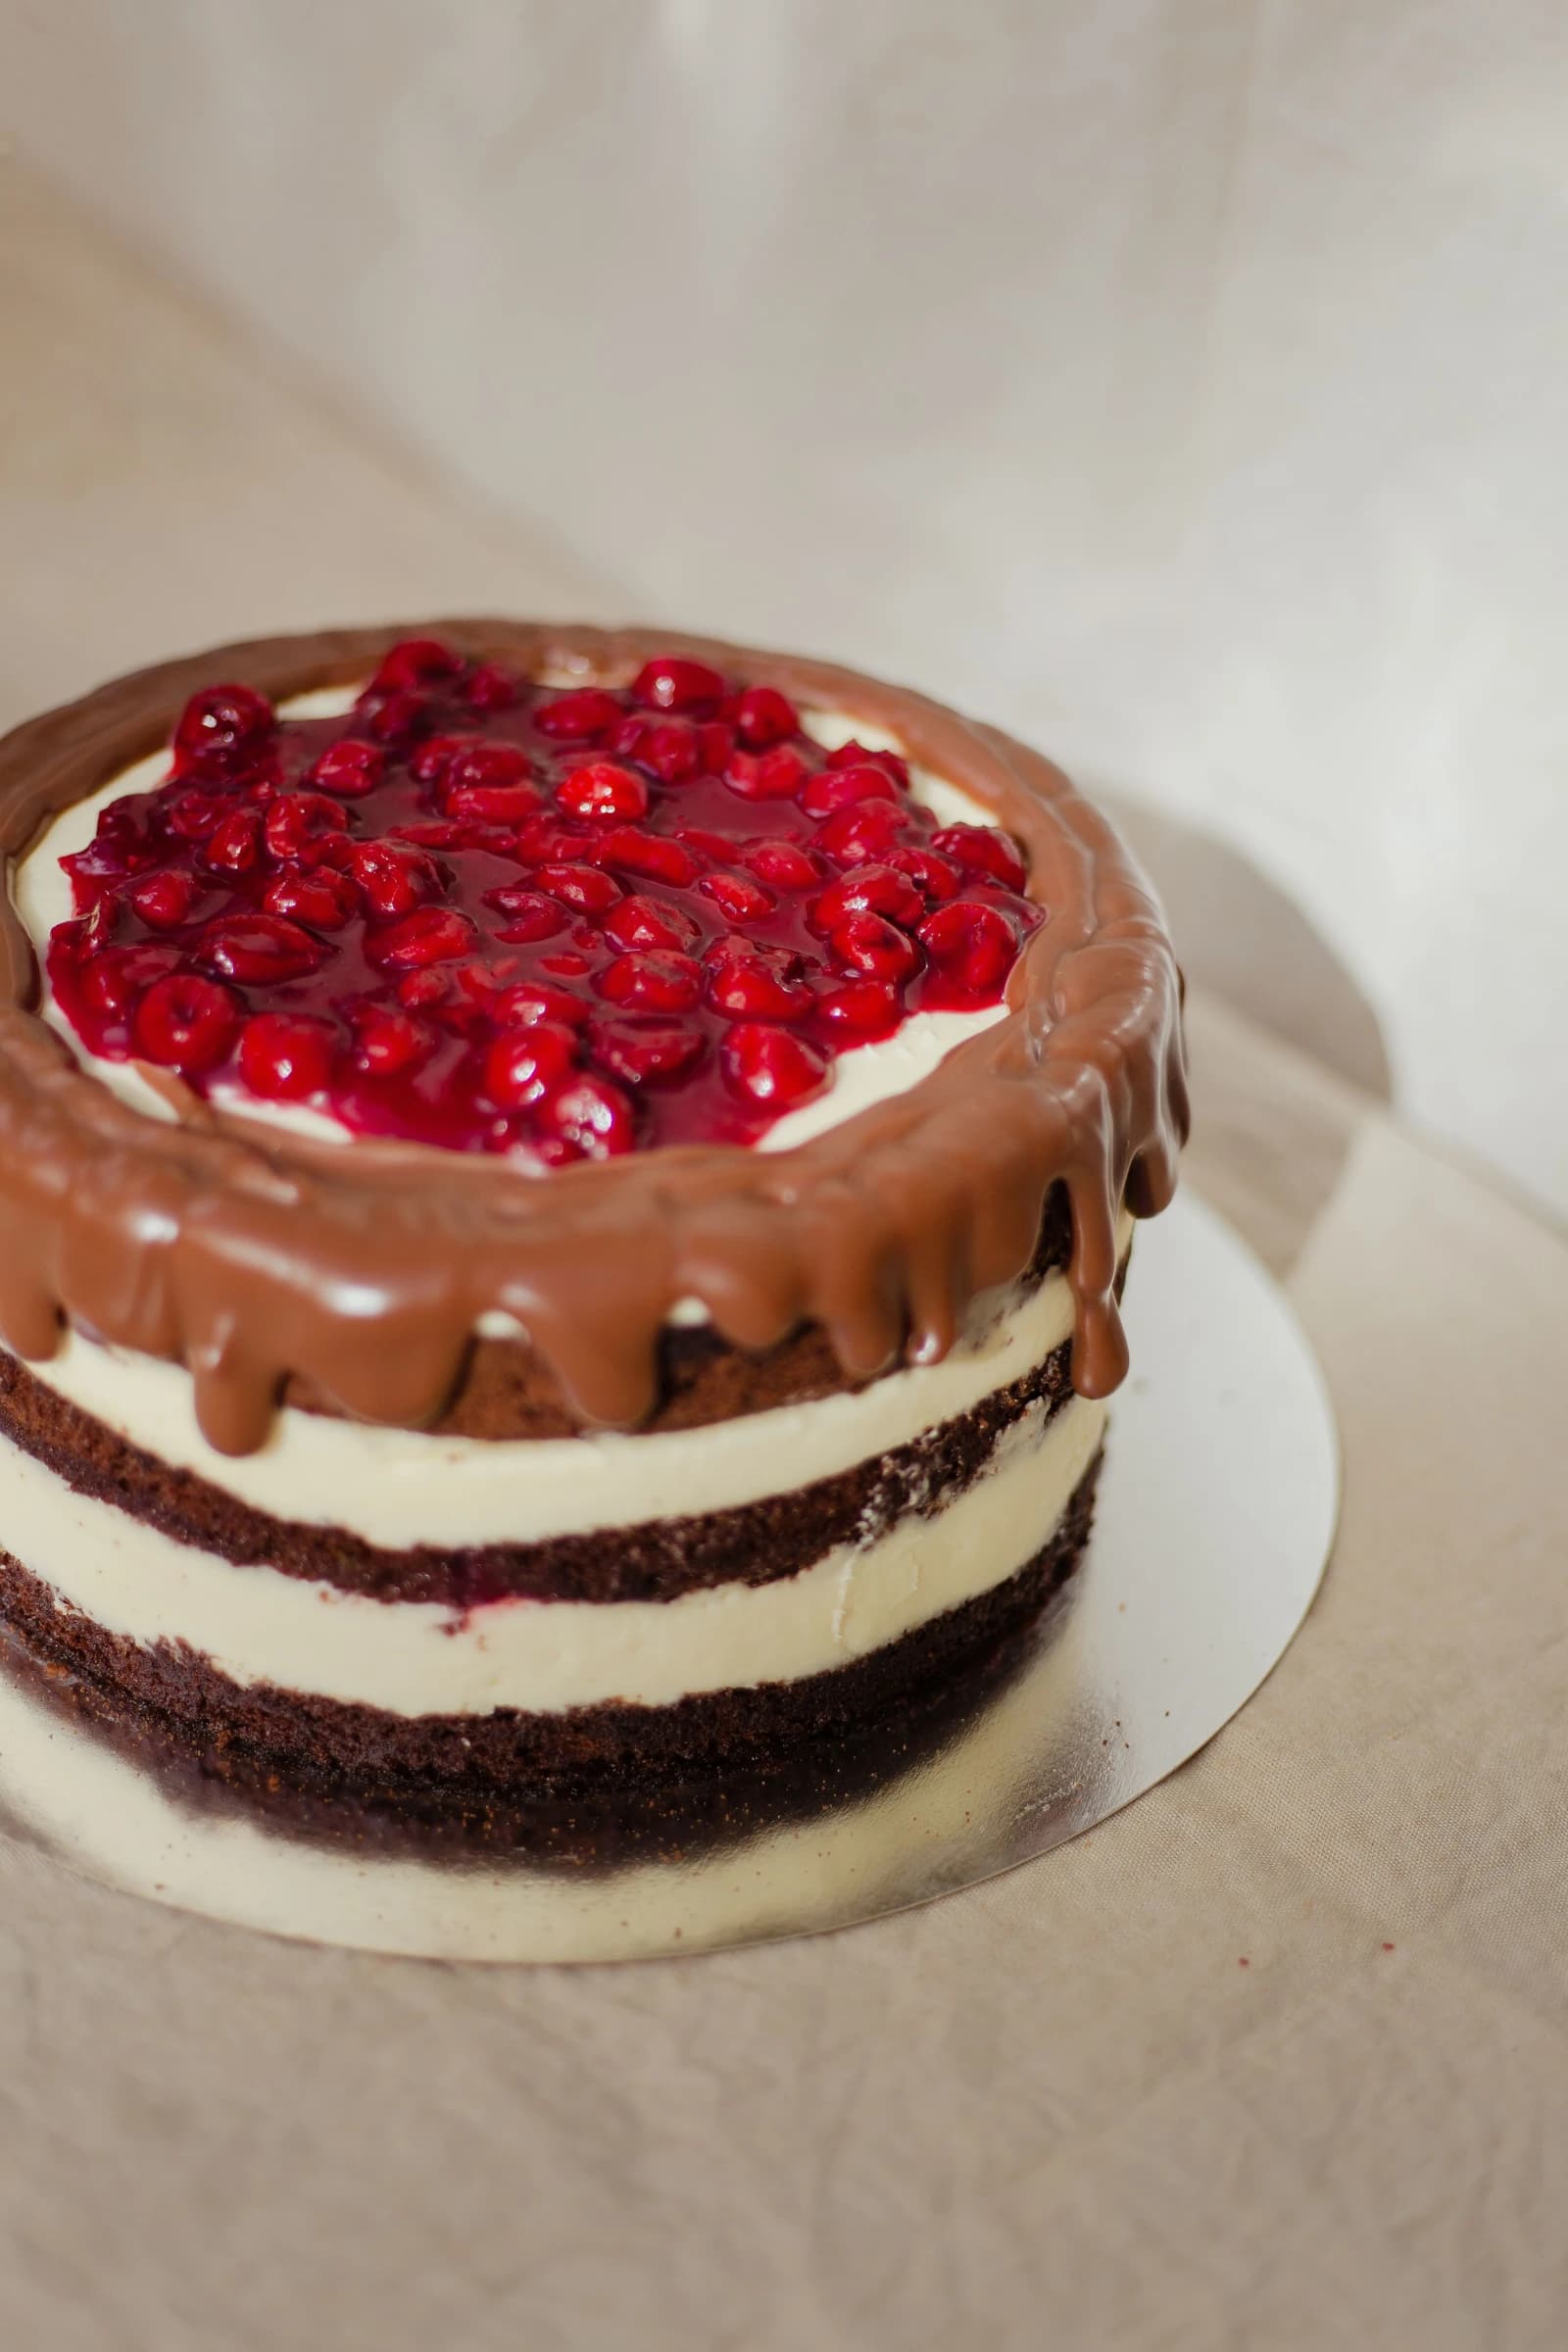
Decorate a bare-sided chocolate layer cake with pale filling, a controlled chocolate drip and a glossy chopped-cherry topping. Includes assembly and drip fixes. This is a decorating plan for an already baked and assembled cake, not the source baker’s recipe. Choose a cake and frosting formula you have used successfully; the photograph cannot establish their ingredients.
Before you start
- Cooled chocolate cake layers and a trusted pale filling
- Stable cake board, offset spatula and turntable
- Chocolate ganache from a trusted drip recipe
- Spoon or small squeeze bottle
- Prepared cherry topping, cooled and drained as needed
- Paper towel, small bowls and a refrigerator
Plan the exposed layers
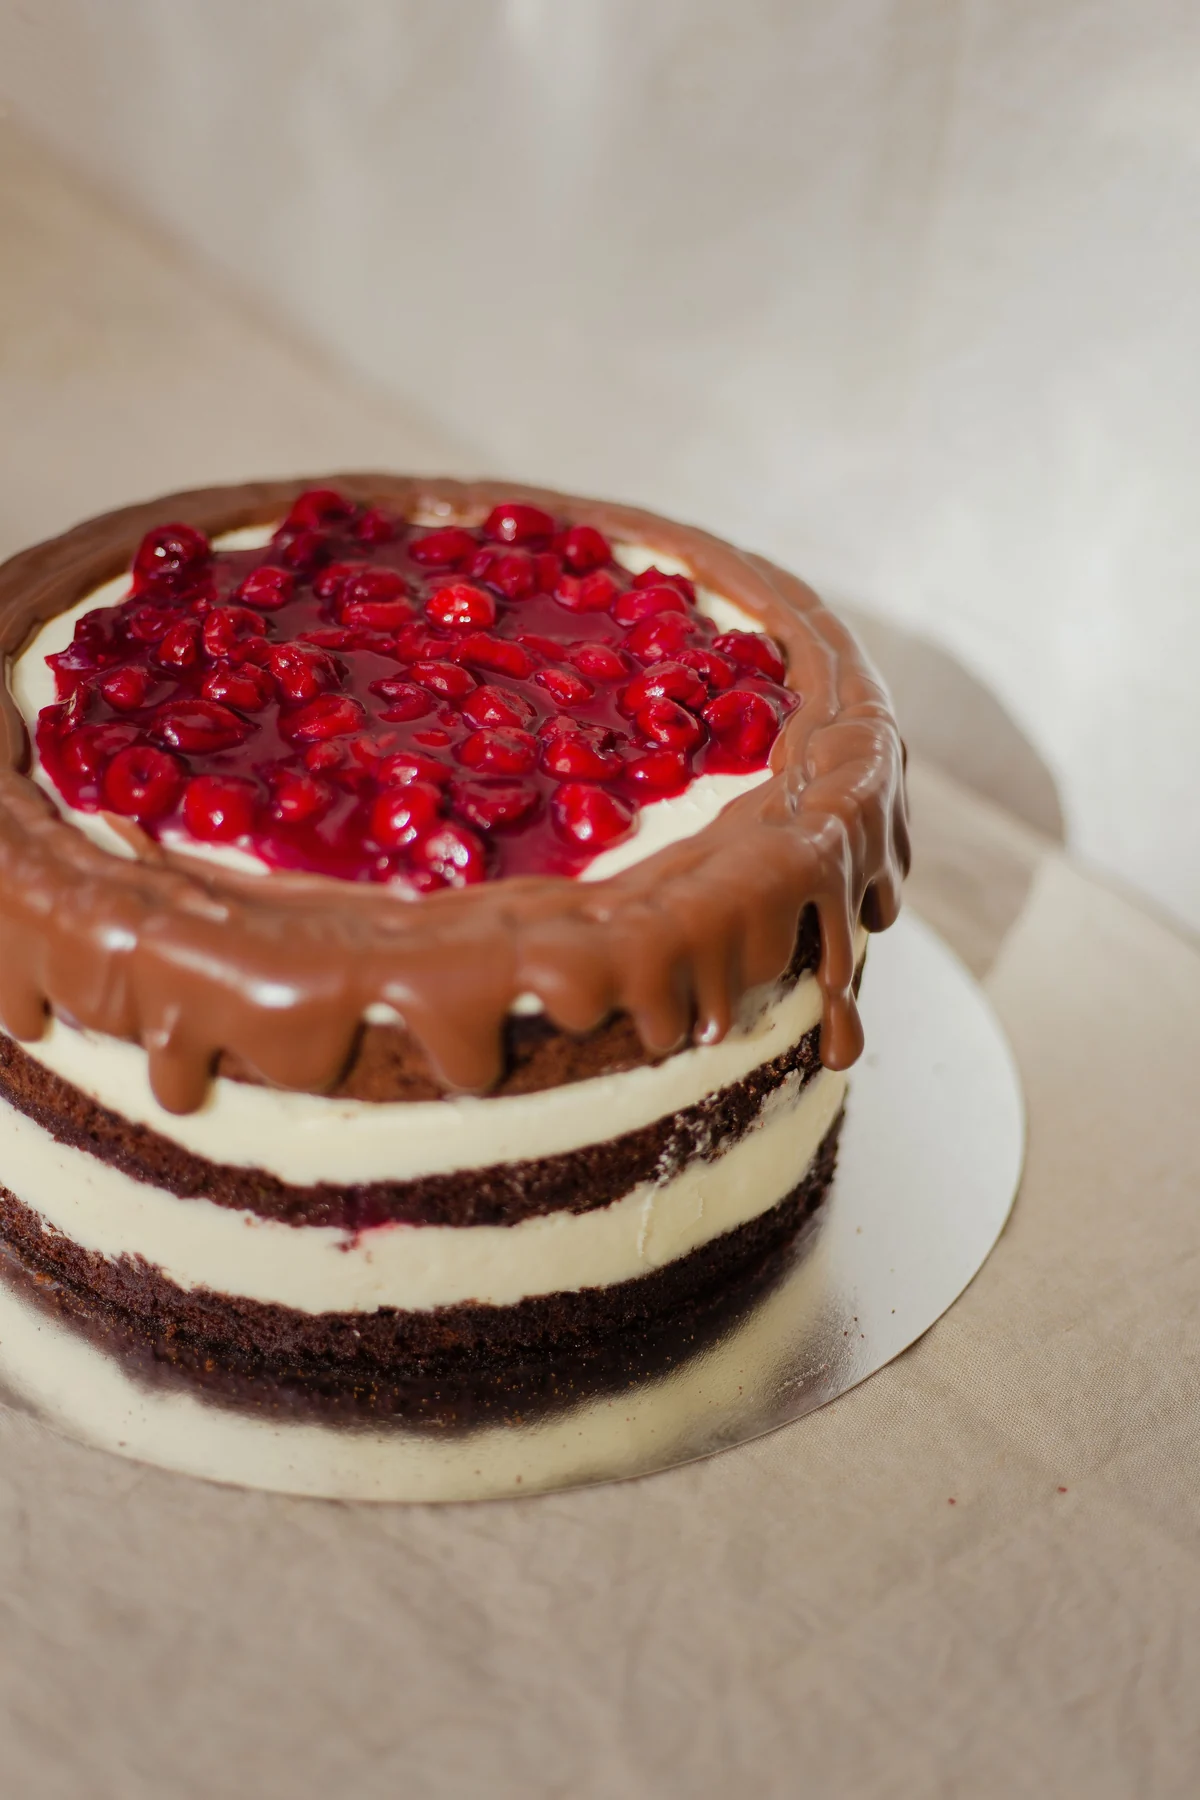
The photograph shows dark sponge bands, pale filling and chocolate drips falling over the top edge. Keep the sides largely uncovered so the alternating layers remain visible. This is a decorating guide, not a claim about the source baker’s exact cake or filling.
Start with fully cooled, level layers. Pair them with a filling firm enough to support the stack. A soft filling can bulge under the upper layers; test its consistency and follow the instructions in your chosen recipe.
Stack evenly and chill the cake
Anchor the first layer to a sturdy board with a small dab of filling. Spread or pipe an even layer of filling, keeping it slightly inside the edge. Lower the next sponge layer straight down and check that the cake remains level before adding more.
Smooth any filling that squeezes out with an offset spatula, leaving the sponge visible. Avoid dragging dark crumbs through the pale filling. Chill the assembled cake until the layers are stable and the outer filling feels firm enough for the drip work.
Test one drip before coating the rim
Use a chocolate ganache recipe intended for drips and let it cool until it flows slowly from a spoon. The right consistency depends on the chocolate, recipe and cake temperature. Hot ganache can soften the filling; overly thick ganache stays in lumps.
Test a small drip at the back of the chilled cake. Wait briefly to see where it stops. If it runs to the board, allow the ganache to cool further or chill the cake again before testing. If it barely moves, gently warm a small portion and test again. Change one variable at a time.
Vary the lengths and preserve the layers
Work around the rim with small amounts of ganache, alternating shorter and longer drips. Keep the spoon or bottle close to the edge and control the amount released at each point. More ganache produces a longer drip, so begin with less than you think you need.
Cover the top with a thin even layer if your chosen design needs it, using gentle strokes toward the rim. Stop before repeated smoothing sends extra ganache over completed drips. Some bare sponge should remain visible between drips.
Add a contained cherry topping
Use a prepared cherry topping compatible with your cake recipe. If preparing cherries yourself, remove every pit, cook or prepare them according to that recipe, and cool fully. Check that chopped fruit contains no remaining pit fragments.
A loose topping can flood the rim and obscure the drip pattern. Test a spoonful on a plate; if excess liquid separates, drain or thicken it using your topping recipe before placing it on the cake. Do not put warm fruit over the finished ganache.
Spoon a small amount into the center and spread outward gradually, leaving a visible chocolate edge. Keep extra topping for serving rather than piling so much on top that it runs down the sides. The pictured topping contains chopped cherries; whole stemmed cherries are not required.
Fix small slips and serve safely
For a drip that travels too far, chill it before attempting a small local correction with a clean spatula. Warm smearing makes a larger patch. If a filling band collects crumbs, lift the crumb gently and use a small dab of reserved filling to tidy that area.
Keep the finished cake refrigerated when its filling or fruit topping requires it, following the most perishable component’s instructions. Use a level box for transport. Slice with a clean knife, wiping between cuts so the pale bands stay distinct; remove any non-edible decorations first.
About the photograph and this guide
Photograph by Yulia Oliinychenko. Source: https://www.pexels.com/photo/chocolate-cake-with-cherries-on-top-19651140/ . License: https://www.pexels.com/license/ . The creator does not endorse Kumora.
Written with AI assistance and editorial review; not kitchen-tested. Practice the decoration on parchment and a small frosting sample first. Follow the storage instructions for your chosen cake and filling.
The little details
- Judge the first test drip before decorating the front.
- Cool the cherry topping completely before adding it.
- Keep a visible chocolate margin around the fruit.
Your questions, answered
Is this the photographer’s exact recipe?
No. The photograph establishes the visible design, not the ingredients or method. Use a chocolate cake, filling, ganache and cherry topping recipe you already trust.
Why does the cherry topping run down the sides?
It may be too loose, warm or piled too close to the edge. Cool it fully, check its consistency and add a small amount to the center first.
Made it? Let’s talk.
Share how your bake went, ask a question, or pass on a helpful tip. There’s a seat for you here.
A kind kitchen is a happy kitchen. Our community guidelines →
No comments yet. Be the first to say hello.