 0 comments
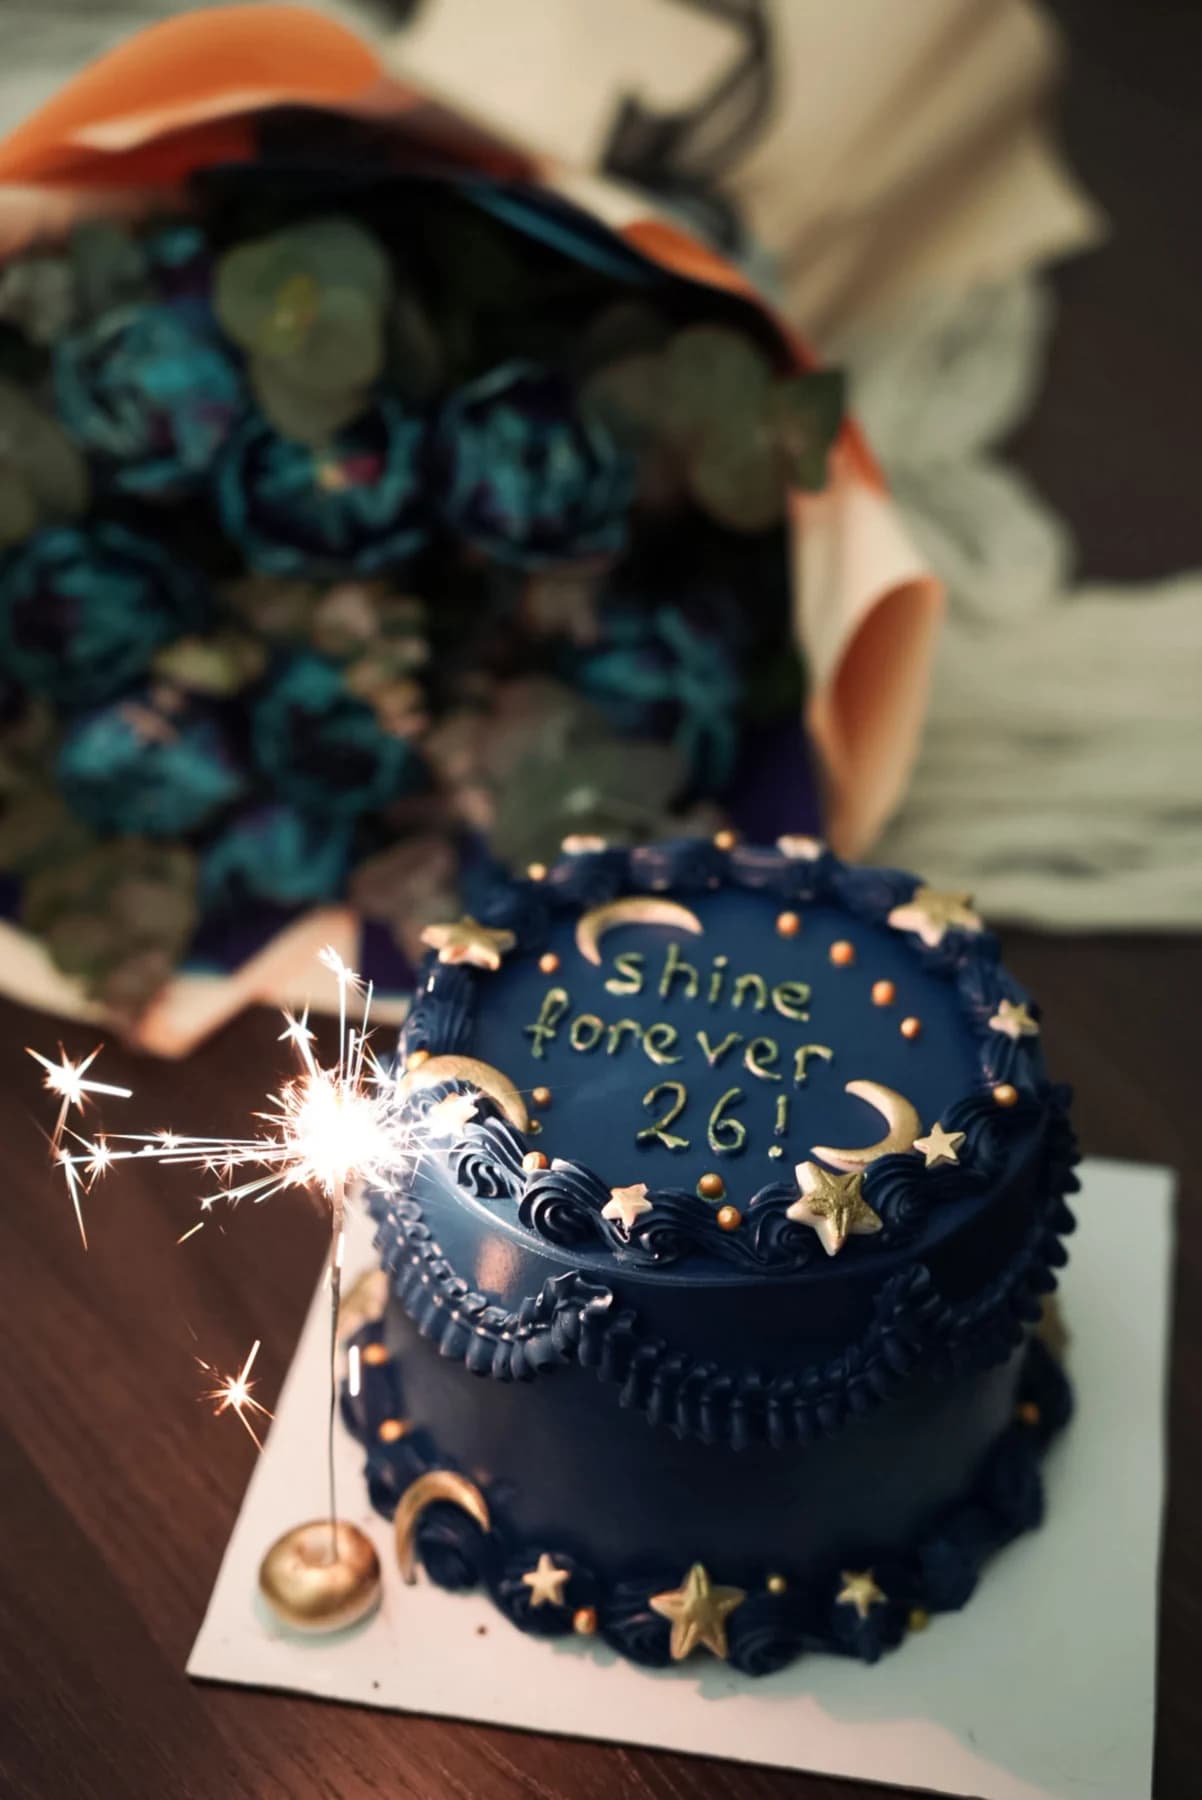
Make a small two-tone celestial cake with a scalloped sun, a crescent moon and just enough stars to connect the design. This Kumora guide interprets the reference image; it does not claim to reproduce the original creator’s recipe or methods.
Before you start
- Small round cake with ivory frosting
- Pale yellow and ivory buttercream
- Fine round and small star tips
- Toothpick and parchment circle
Lay out a two-tone sky
The reference uses gentle yellow and ivory rather than a dark night sky. Choose a main circular sun area slightly off center and reserve the opposite side for a small crescent. Sketch the arrangement on a paper circle before touching the frosting.
Keep the base coat smooth and firm enough for fine detail. Tint a small amount of buttercream a little deeper than the background so the sun remains visible without introducing a harsh color.
Make the sun the largest shape
Mark a shallow circle with a toothpick and fill it with pale yellow frosting. Smooth with a small spatula. Pipe a scalloped edge or short rays around it, keeping their size consistent enough to read as one shape.
The center can hold a simple face or remain plain. If adding a face, mark both eyes before piping either. Use very small details; a large smile and eyebrows can change a quiet celestial cake into a cartoon design.
Balance it with a crescent
Pipe or model a small crescent on the opposite side, leaving a clear gap between the two main shapes. Place a few larger stars near the crescent and smaller dots toward the open edges. Let the stars guide the eye rather than fill every bare spot.
Check from above after each small cluster. If the layout feels unbalanced, add one star where it needs weight instead of scattering dots across the entire surface. A limited number of shapes is easier to read on a small cake.
Finish with a light border
A small shell or bead border ties the top to the side. Match it to one of the existing colors. Keep the birthday message short or put it on the board so the sun and moon remain the main event.
Use a single candle in a suitable holder if space is limited. Box with enough clearance for raised shapes and store according to the cake and filling you selected. This is a decorating plan, not a reconstruction of the original baker’s formula.
The little details
- Pale yellow deepens as more color is added; mix gradually.
- Practice tiny faces at their final size before piping onto the cake.
Your questions, answered
Can I use a dark blue background?
Yes, but retest the contrast of the moon, stars and lettering. An ivory-and-yellow palette is easier to keep soft and delicate.
Can the shapes be fondant?
Yes. Use edible modeling materials and keep pieces thin enough to suit the small cake.
Made it? Let’s talk.
Share how your bake went, ask a question, or pass on a helpful tip. There’s a seat for you here.
A kind kitchen is a happy kitchen. Our community guidelines →
No comments yet. Be the first to say hello.