 0 comments
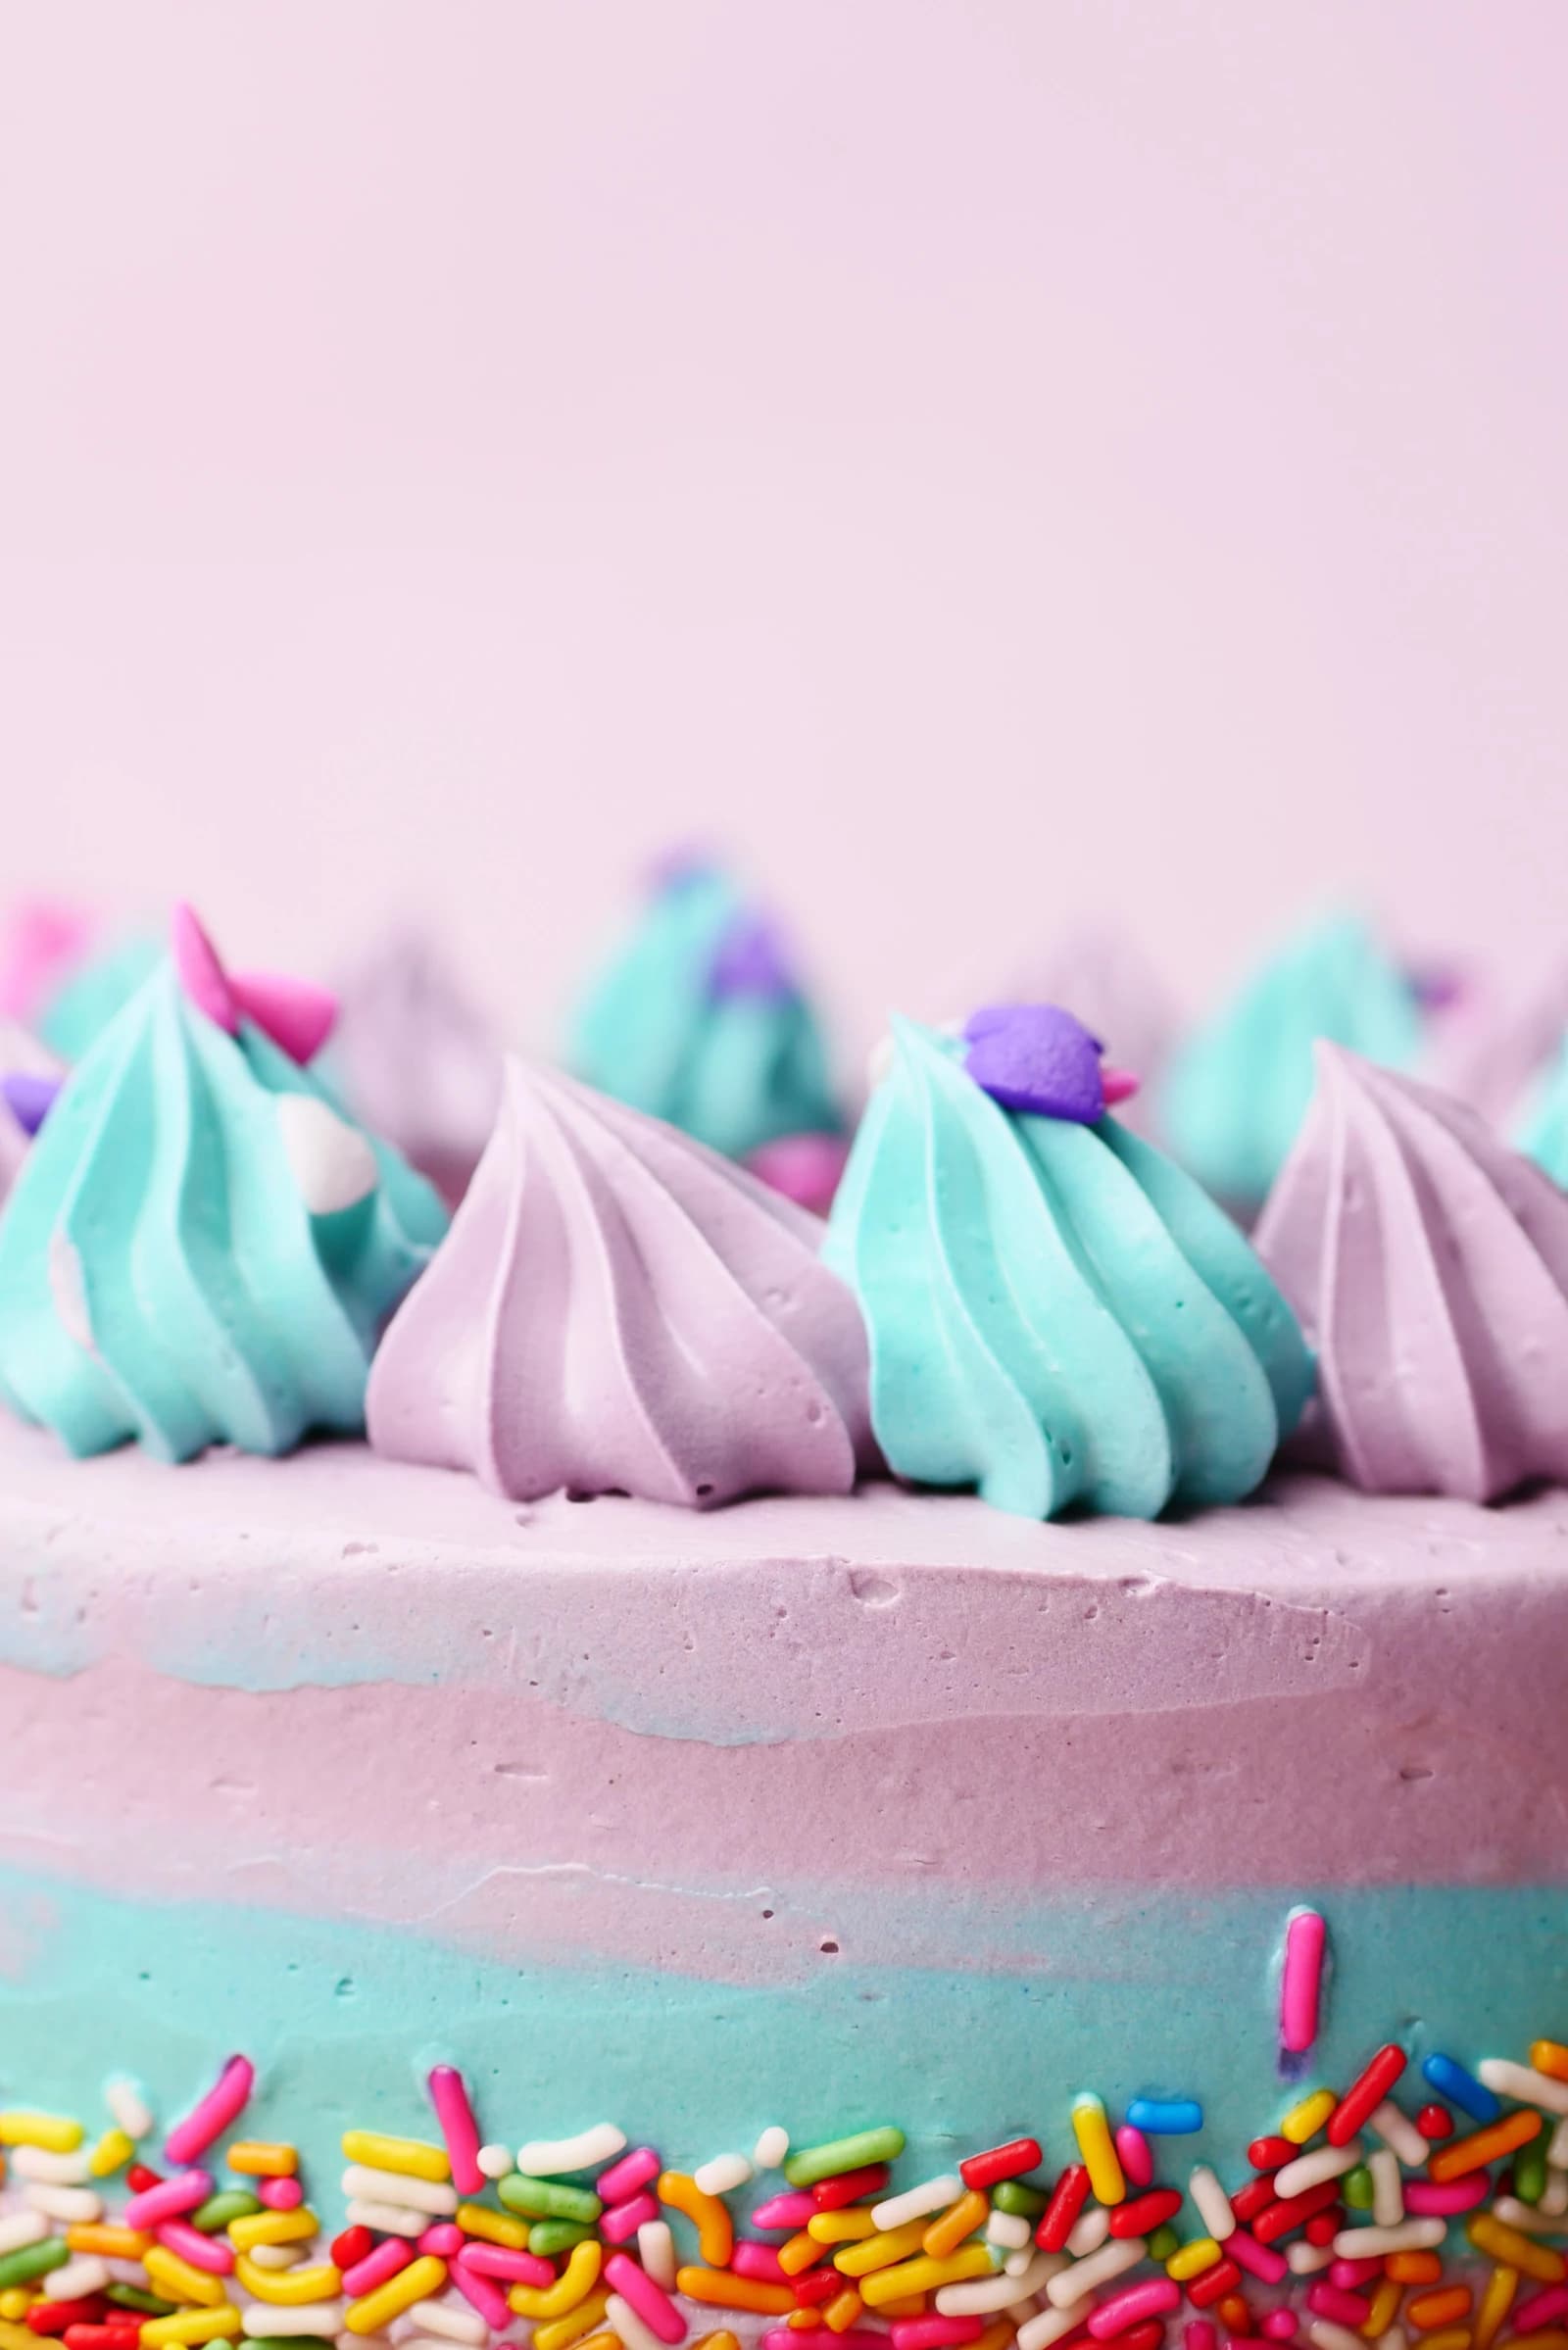
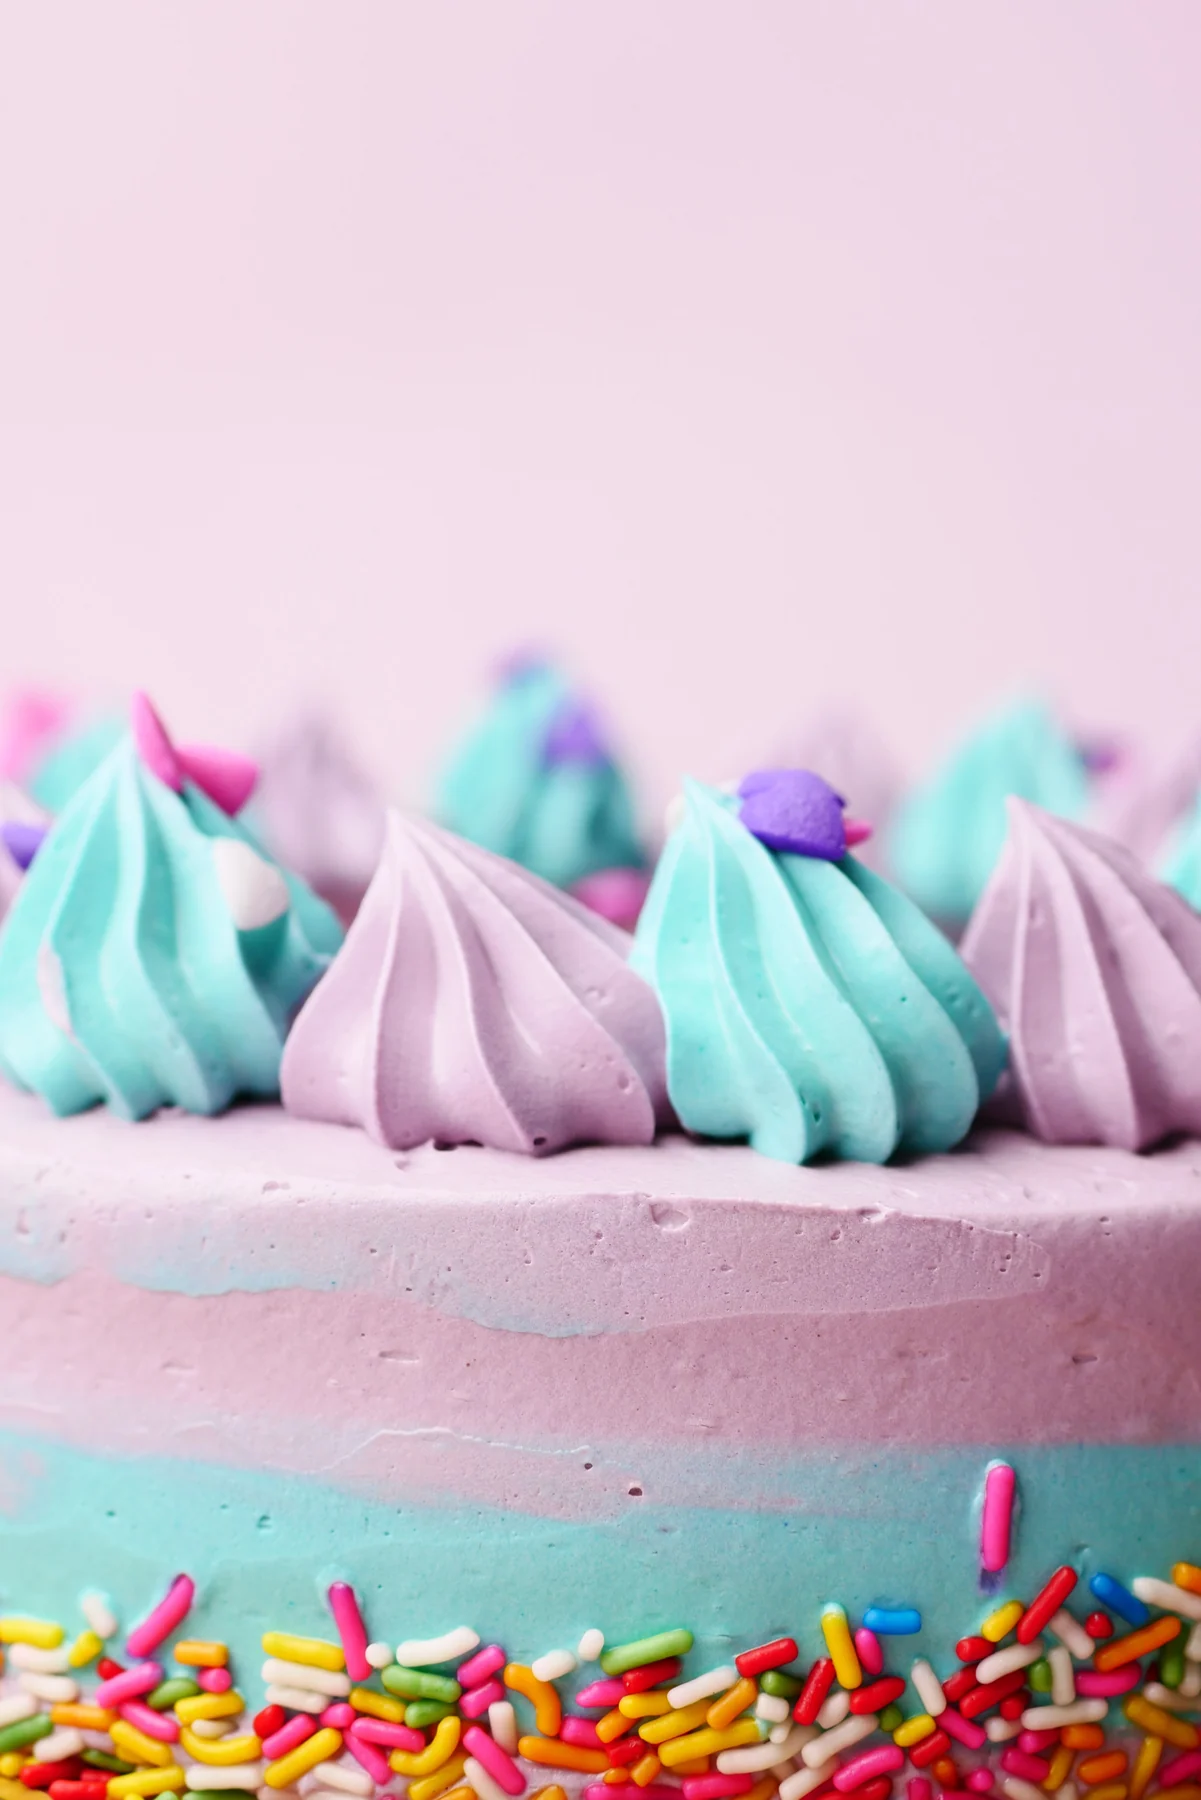
Pink and blue buttercream bands make a bright birthday cake. Learn how to keep the colors separate, pipe a simple top border and add sprinkles without overwhelming the finish. The licensed photograph is a visual reference. The instructions are an independent approach to the style, not a claim about the source baker’s ingredients or exact method.
Before you start
- Filled and crumb-coated round cake
- Prepared buttercream divided into pink, blue and pale lavender
- Gel colors labeled for food use
- Offset spatula, cake scraper and turntable
- Piping bags and an open-star tip
- Edible sprinkles and a clean tray
Divide and tint before coating
Make enough of each shade before starting so you do not have to match a second batch halfway around the cake. Reserve some untinted buttercream for lightening colors and a separate portion for the top decorations. Soft pink and blue can look stronger when placed side by side.
Stir the colors through completely and scrape the bottom of the bowl. A few dark streaks can be attractive in other designs, but clear horizontal bands are easier to make with evenly colored frosting.
Build a stable surface
Use a fully cooled, filled cake and apply a thin crumb coat. Chill until the surface is firm to a light touch. Mark the approximate band boundary with a few small dots around the side, keeping them at the same height.
Spread blue frosting around the lower portion and pink above it. Apply enough to cover the base without repeatedly scraping down to crumbs. You can place each color with separate bags first, then smooth with the spatula.
Keep the bands distinct
Hold a clean scraper upright and turn the cake steadily. Stop after a short pass to wipe the tool. Scraping repeatedly with a tool already coated in both colors drags one band across the other and makes the boundary muddy.
If a patch needs more frosting, add only to that area and make another light pass. A soft transition at the seam is fine; this is a two-color buttercream design rather than a perfectly printed stripe. Chill briefly if the coating starts to slide.
Pipe the top peaks
Fit an open-star tip to a bag containing one pastel shade. Hold it upright over a practice surface, squeeze to build a ridged mound, stop pressure, then lift. Practice making several similar sizes before piping on the cake. The exact nozzle size changes the height and frosting allowance.
Arrange the largest peaks around the top rim, leaving space between them. Add smaller peaks in a second color if desired. Avoid crowding the center: the cake in the photograph works because the peaks, color bands and sprinkles each have their own space.
Use a tidy sprinkle band
Set the cake over a clean tray to catch loose sprinkles. Add a small amount at a time to the lower side while the coating will still accept them. Gently place them with a clean spoon or hand rather than pressing hard enough to dent the frosting.
Read the sprinkle label and use only edible decorations. Large hard pieces are different from soft buttercream; keep the age and needs of the people eating the cake in mind when choosing them.
Fix smears and plan transport
For a small color smear, chill the coating, lift away just the affected frosting and fill the spot with the correct shade. Resist scraping the entire side again when one patch is the problem. If the top peaks droop, check warmth and frosting consistency before adding more.
Use a cake box tall enough for the peaks and keep the board level. Store according to the shortest requirement of the cake, filling and frosting; decorate close to serving for the neatest sprinkle texture.
About the photograph and this guide
Photograph by Towfiqu barbhuiya. Original source: https://www.pexels.com/photo/pink-and-blue-icing-on-cake-11264390/ . Used under the Pexels License: https://www.pexels.com/license/ . The photographer does not endorse Kumora.
This decorating guide was written with AI assistance and editorial review. It has not been kitchen-tested. Start with a small practice section and use a cake and frosting recipe you already trust.
The little details
- Clean the scraper between passes.
- Leave the center simple so the top border stands out.
- Use smaller bag fills if hand warmth softens the frosting.
Made it? Let’s talk.
Share how your bake went, ask a question, or pass on a helpful tip. There’s a seat for you here.
A kind kitchen is a happy kitchen. Our community guidelines →
No comments yet. Be the first to say hello.