 0 comments
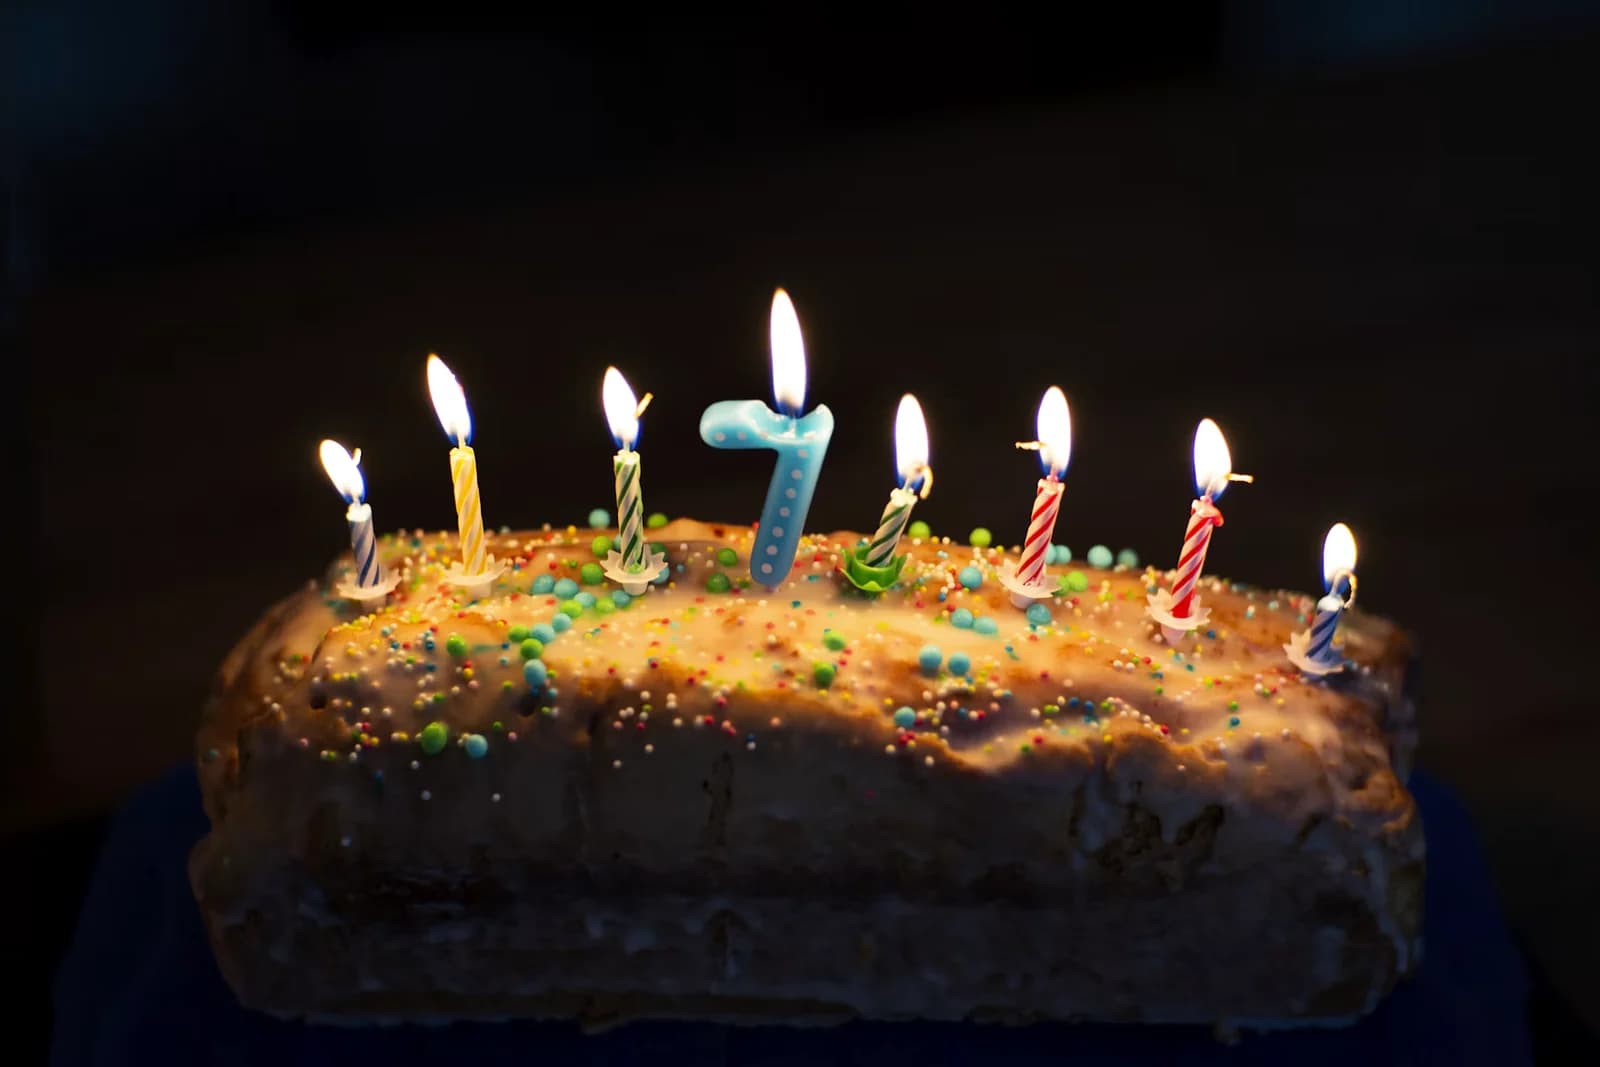
Plan a long cake that fits its board, box and refrigerator, then finish it with blue flower clusters or a bright lemon arrangement. This Kumora guide interprets the reference image; it does not claim to reproduce the original creator’s recipe or methods.
Before you start
- Rectangular cake layers and a rigid board
- Frosting suited to your cake
- Long scraper and small palette knife
- Edible flowers or washed citrus for your chosen finish
- A box measured before assembly
Solve the practical shape first
A long cake makes a strong centerpiece, but its board and box need planning before baking. Measure refrigerator shelves and door clearance. Leave room at both ends of the board for lifting, and choose a cake height that will travel without leaning.
Use your tested recipe’s yield when planning portions. If assembling several cake sections, align them carefully and avoid soft, unsupported joins. The serving plan should make it clear where slices will be cut, particularly if there are decorations along the length.
Smooth the long sides patiently
Crumb-coat and chill before the final frosting layer. Use a scraper long enough to cover a useful section without repeatedly digging into the surface. Check the top edge at eye level and correct dips before adding decorative texture.
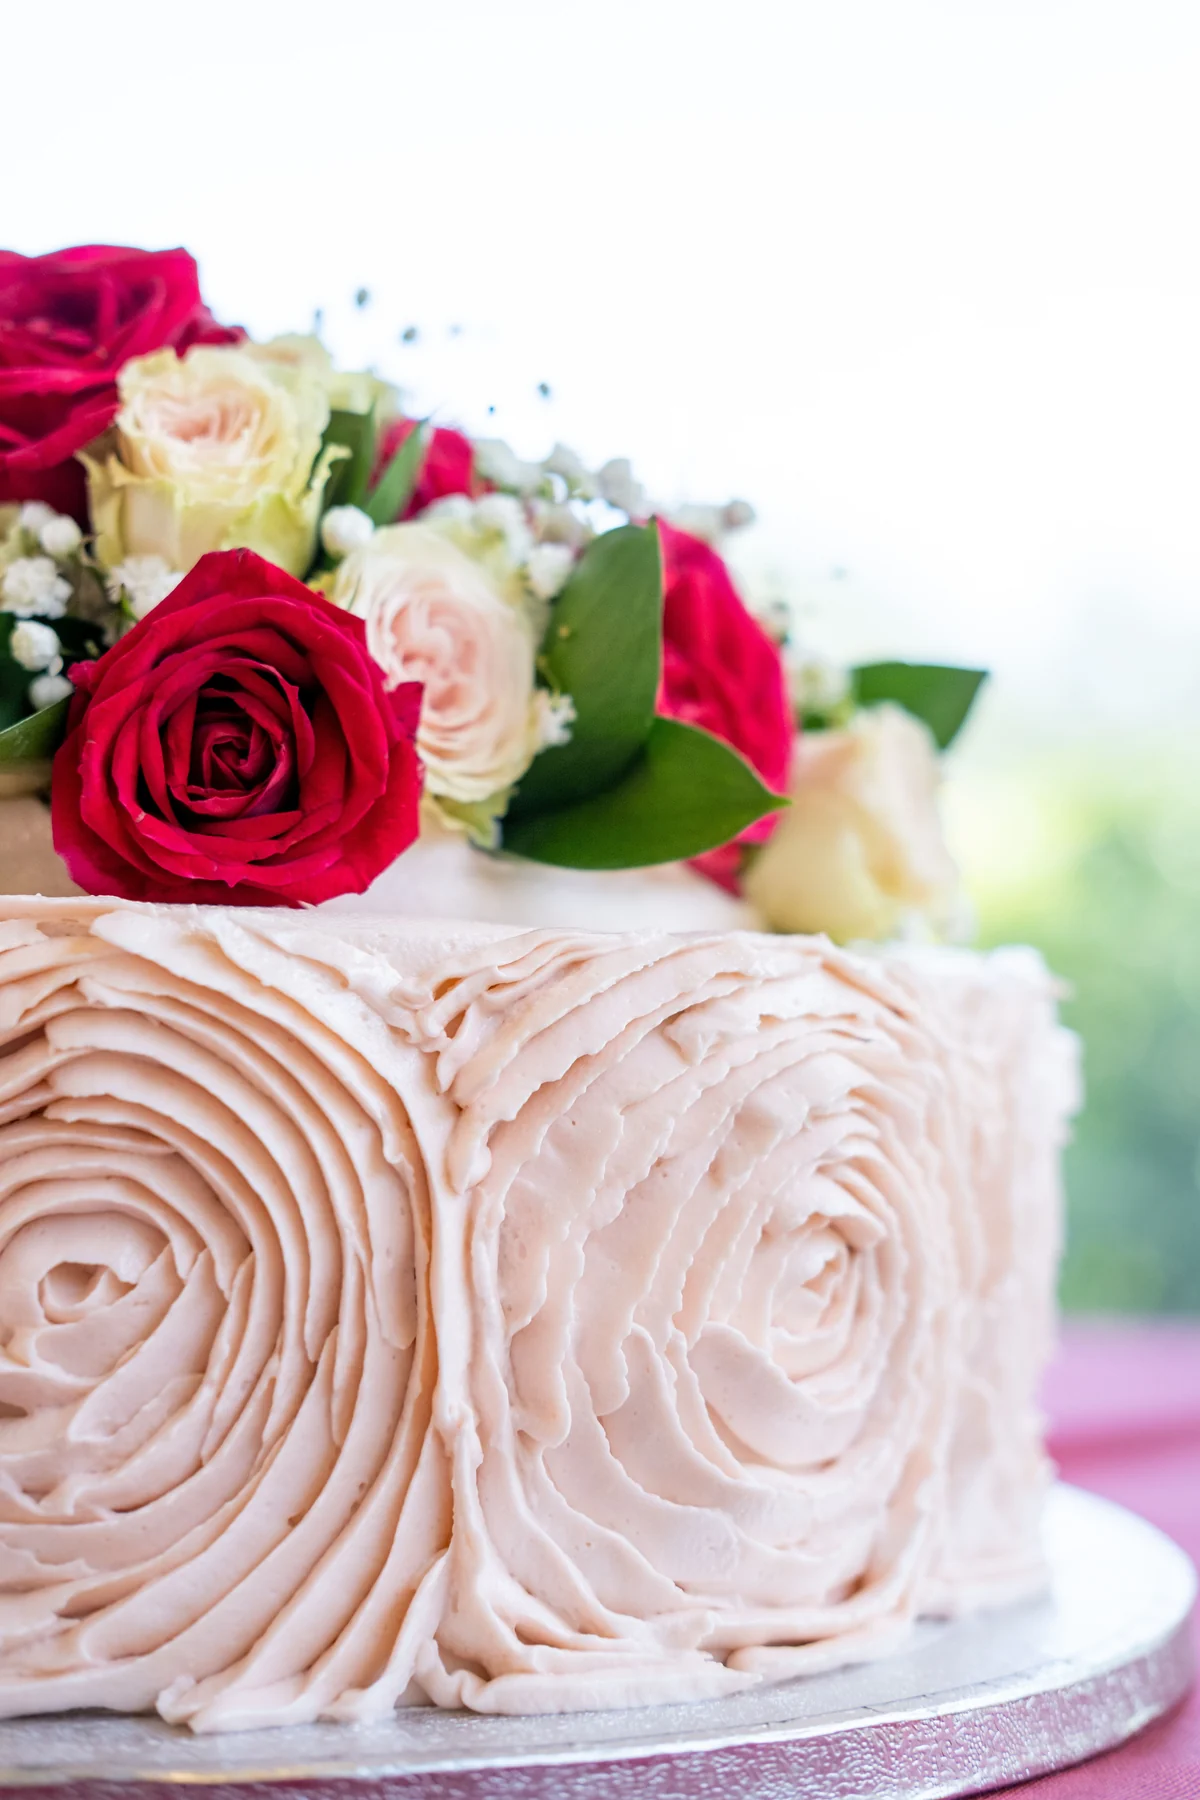
For the flower reference, pull soft vertical strokes through the final coat. For the citrus version, a quieter side finish lets the top arrangement stand out. Both styles benefit from neat end panels: they are visible whenever the cake is viewed diagonally.
Choose flowers or citrus
For a blue-and-white floral version, group edible blossoms near opposite ends and add smaller clusters between them. Keep one open stretch rather than creating a uniform hedge. Buttercream flowers are a practical alternative to unidentified fresh flowers.
For the citrus version, use thin lemon slices or small wedges, piped ivory accents and restrained green leaves. Pat fruit dry and place it near serving time. Do not let large juicy pieces overwhelm the frosting or block every planned cutting line.
Finish the centerpiece on location
A row of candles can emphasize the length, but use suitable holders and keep flames clear of decorations. Avoid copying a styled scene’s dense candle arrangement without considering how it will actually be lit and served.
Carry the cake flat with support under the board. Add the most delicate top pieces after transport where possible. Photograph from a three-quarter angle so viewers can see both the long silhouette and the texture on the side.
The little details
- Pack a small repair bag of frosting in the base color.
- Mark a discreet cutting guide on paper for the person serving the cake.
Your questions, answered
Can I make a shorter version?
Yes. Keep the same long-to-narrow impression and reduce the number of decorative clusters. Use the recipe’s yield to decide portions.
How do I stop the board bending?
Use a board intended to support the finished cake’s weight and span. Test it before assembly rather than discovering flex during transport.
Made it? Let’s talk.
Share how your bake went, ask a question, or pass on a helpful tip. There’s a seat for you here.
A kind kitchen is a happy kitchen. Our community guidelines →
No comments yet. Be the first to say hello.