 0 comments
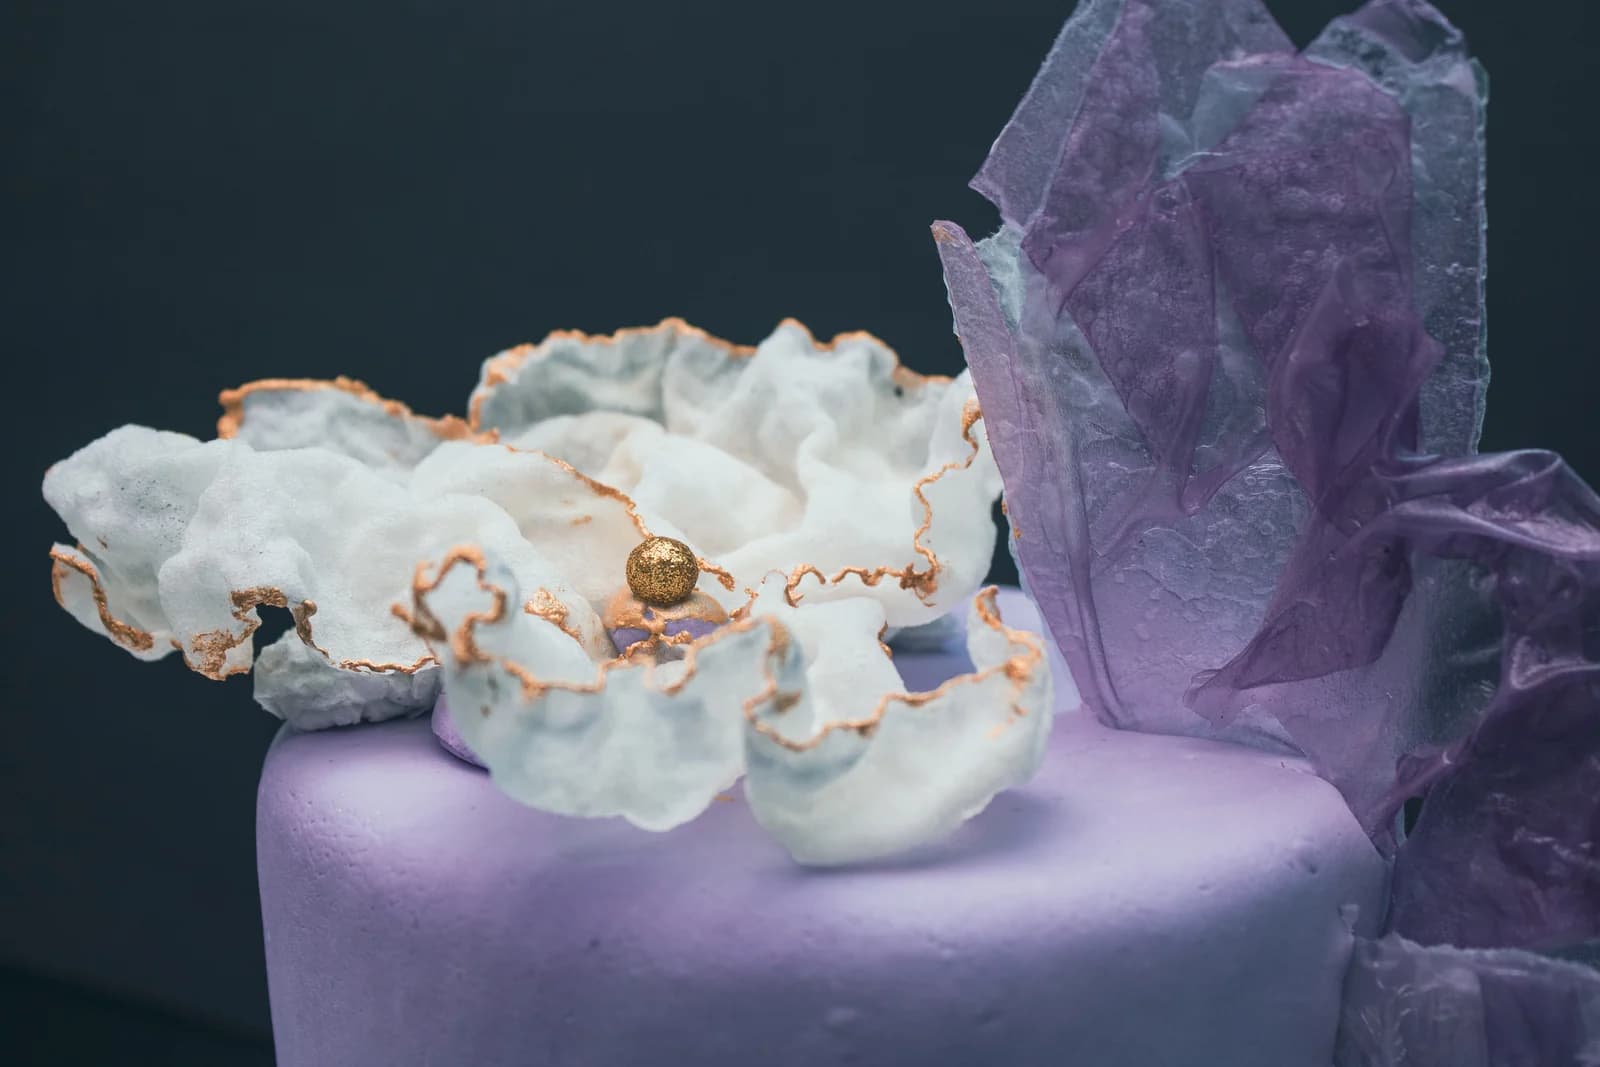
The reference turns a white tiered cake into a jewelry box. Our home version keeps the faceted colors and clean ivory background, but makes one sturdy 6-inch cake. Purchased edible candy gems provide the sparkle; craft rhinestones and costume jewelry never belong directly on a cake intended to be eaten.
An original Kumora recipe inspired by the linked cake design. The linked reference is decorating inspiration, not evidence of a kitchen-tested result from this recipe. The cover is identified in its caption.
Before you start
- Digital kitchen scale
- Electric hand mixer or stand mixer
- Mixing bowls, silicone spatula and cooling rack
- Offset spatula, cake board and turntable
- Piping bags and parchment paper
- Two 6-inch round cake pans
- Cake scraper and food-safe tweezers
- Purchased edible candy gems in several sizes
Choose decorations that are actually edible
Look for gems sold specifically as edible confectionery, with an ingredient list. Products labeled merely non-toxic are not necessarily food. The reference may include non-edible decorations; the recipe below replaces that look with candy.
Keep the gems in their sealed package until decorating. Hard candy can become sticky or dull in humid conditions, so add it as close to serving as practical.
Make a smooth ivory canvas
Melt the white chocolate gently and let it cool until fluid but no longer warm. If it is hot, it will melt the butter; if it has set, it will leave little chips. Beat it into the buttercream gradually.
A thin crumb coat and a 20-minute chill are the foundation of the smooth finish. For the final coat, hold the scraper vertically and rotate the turntable. Stop after a few passes; repeated scraping over cold patches can make the surface worse.
Arrange the jewels like a scattered pattern
Place the largest gems first, spaced unevenly around the cake. Fill a few gaps with medium gems and finish with the smallest pieces. Leave visible ivory frosting between them so the decoration does not become heavy.
Press lightweight gems gently into slightly softened buttercream. For a chilled cake, add a small dot of fresh frosting behind each piece. Do not push hard enough to crack the coating.
Keep this version to one tier
The inspiration has two tiers, but this recipe supplies batter and frosting for one 6-inch cake. A second tier requires its own cake board and a properly designed support system; frosting alone cannot safely hold it.
Chill the undecorated cake, covered, for up to 3 days and apply the candy gems near serving time. Remove very large, hard decorations before serving slices to young children.
Single-tier edible jewel cake
- Makes, at 1×
- One 6-inch, two-layer cake; 8 slices
- Prep
- 1 hr 10 min
- Baking
- 30 min
- Start to finish
- About 3 hr 30 min
Cool the sponges fully and allow short chilling stages before attaching the gems.
Original recipe draft · not yet kitchen-tested. Baking times are estimates; use the doneness checks in the method.
Ingredients
Cake
White chocolate buttercream
Decoration
Let’s make it
- Heat the oven to 175°C / 350°F conventional (155°C fan). Grease two 6-inch (15 cm) round cake pans, line their bases with parchment, and set them on the middle rack when baking. Whisk the flour, baking powder and salt together.
- Beat the cake butter and sugar for 3–4 minutes until noticeably lighter. Beat in the eggs one at a time, scraping the bowl between additions. Add the vanilla.
- On low speed, add the flour mixture in three additions, alternating with the milk in two additions. Stop when the last streaks of flour disappear; do not keep beating.
- Divide evenly between the prepared pans and level. Bake for 25–32 minutes, checking toward the early end. The centers should spring back lightly and a skewer should emerge without wet batter. Cool in the pans for 15 minutes, then turn onto racks and cool completely.
- Melt the white chocolate in short microwave bursts, stirring each time, or over a gently steaming water bath. Keep water out of the chocolate. Let it cool until fluid but barely warm.
- Beat the frosting butter for 4 minutes. Add icing sugar gradually, then cream, vanilla and salt. Beat in the cooled melted chocolate. If loose, chill for 5–10 minutes, then stir until smooth.
- Level the cooled layers and sandwich them with about 150 g frosting. Apply a thin crumb coat and chill for 20 minutes. Add a generous final coat, smooth the sides and top, and chill until stable.
- Shortly before serving, set out the edible gems. Place the largest pieces first, then medium and small pieces, using a tiny dot of buttercream as glue when necessary. Keep the decoration sparse enough to show the smooth frosting.
- Cut with a warm, dry knife, taking care around hard candies. Store remaining cake covered in the refrigerator; the candy finish may soften over time.
Contains wheat, eggs and milk; candy decorations may introduce other allergens. This recipe does not make the two-tier cake shown in the reference. Do not substitute craft rhinestones, glue or glitter.
The little details
- A very pale ivory frosting is more achievable than bright white with real butter and white chocolate.
- Avoid spraying the finished cake with water-based shimmer around hard candy.
- Use small, lightweight edible gems so the frosting can support them.
Your questions, answered
Can I make the cake bright white?
White chocolate and butter naturally make ivory frosting. Choose pale butter and white decorations, or use a different frosting formulation if pure white is essential.
Can I attach the gems the night before?
The cake can be made ahead, but hard candy may become sticky in the refrigerator. Add the gems shortly before serving for the clearest finish.
Are non-toxic craft gems safe to eat?
No. Use decorations explicitly sold as edible with food ingredients. Non-toxic is not the same as edible.
Made it? Let’s talk.
Share how your bake went, ask a question, or pass on a helpful tip. There’s a seat for you here.
A kind kitchen is a happy kitchen. Our community guidelines →
No comments yet. Be the first to say hello.